How to Knit Colorwork Stripes in Garter Stitch
Knitting stripes and changing colors can seem easy enough, but knowing how to hide color changes can take it a step further!
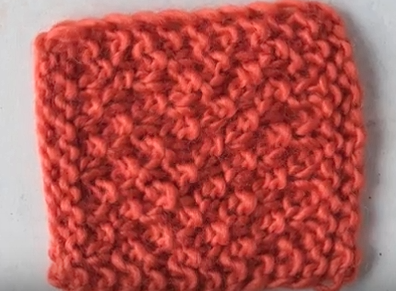
Colorwork is so much fun and a great way to take your knitting game to the next level. But in certain stitches, like garter stitch, it can be a bit of a challenge when you start to get those interlocking colors on the wrong side. In this fun video tutorial, we'll show you how to change colors in your garter stitch and how to time you color changes so your interlocking colors will appear on the wrong side and your clean, "invisible" edges will be on the right side.
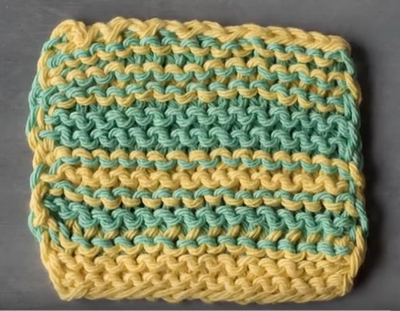
Although color working may seem like a difficult feat, when using garter stitch, it is simple and calming. When looking at the knit pattern, the right side of the piece looks very clean, and the wrong side is where you can see the stitches where the yarn is coming together. That said, it is possible that you may way to use the blending of the colors on the wrong side as a design feature!
This type of colorwork a great way to use up old scraps of yarn while also creating a fabulous, colorful and unique piece that looks amazing.
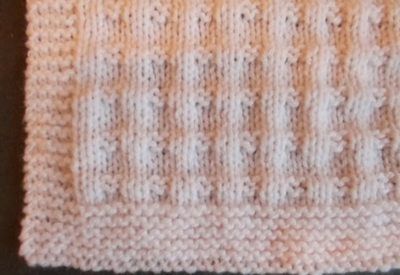
Right Side vs. Wrong Side
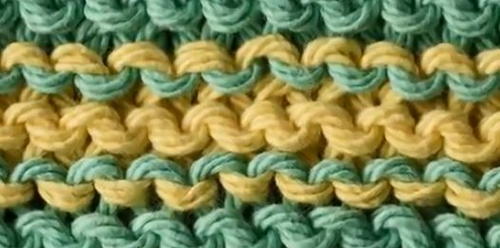
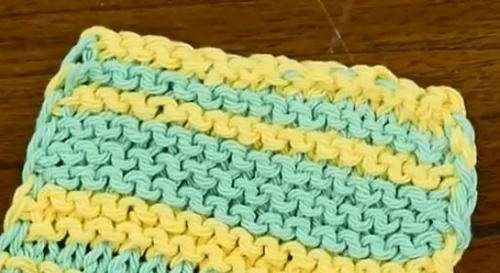
When working in garter stitch, typically you do not need to worry about which sides are the right and wrong sides. When you add colorwork into the mix, however, remembering which is which is a little more important.
-
On the wrong side of your work, the two colors will interlock in the same row of purl bumps. Some people do not like the look of this, but it can be a nice way to visually "blend" the two colors together.
-
The right side of your work will look a little cleaner, and the breaks in between the rows of different colors will be more distinct.
How to Change Colors at the End of a Row
If you're new to colorwork and don't know how to change colors for a new row, it's very easy to do.
Visual learner? Watch out video for how to change colors at the end of a row.
-
Simply knit in pattern to the end of the last row of your first color.
-
When you're ready to start your new color, insert your working needle into the first stitch of your previous row as if you're about to start the next stitch.
-
Instead of picking up the working yarn from your first color, like you would normally do for a single color knitting pattern, you will simply loop the new strand of yarn around your working needle and bring it through, completing the stitch like you normally would.
Note: There is no need to create a new slip knot at this point in the knitting. Simply looping the new yarn around the needle and using that to complete the next stitch will be enough to secure the yarn into the stitches. -
Keep in mind that you will have to weave in the ends of both yarn colors once you are done with your pattern.
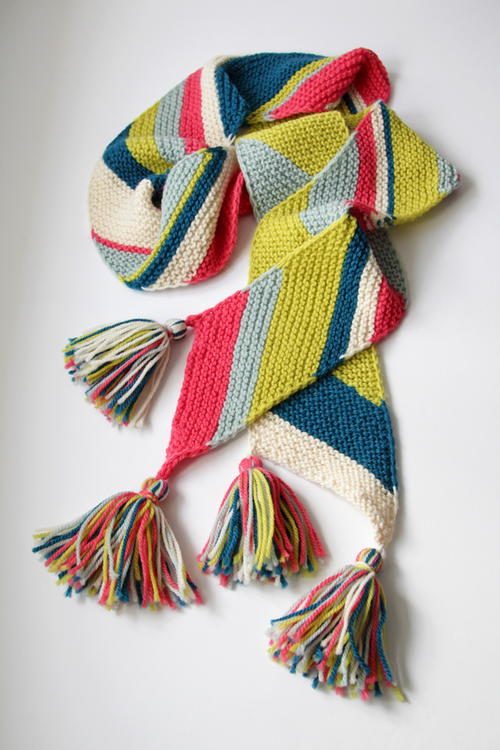
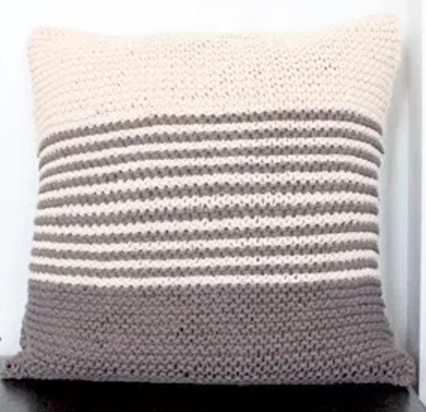
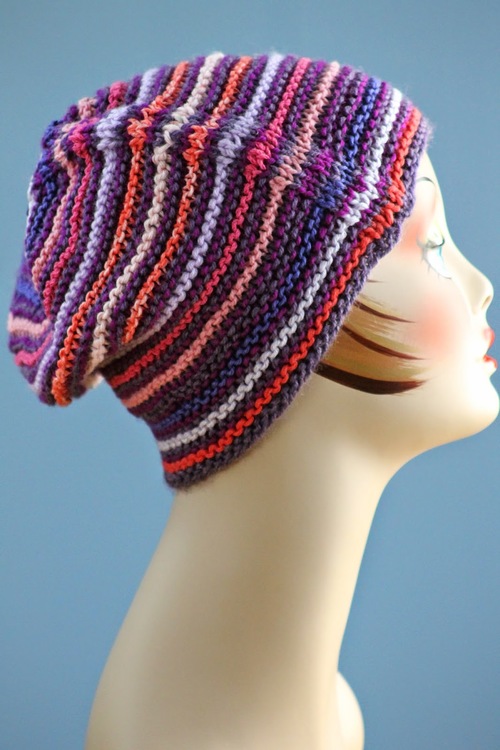
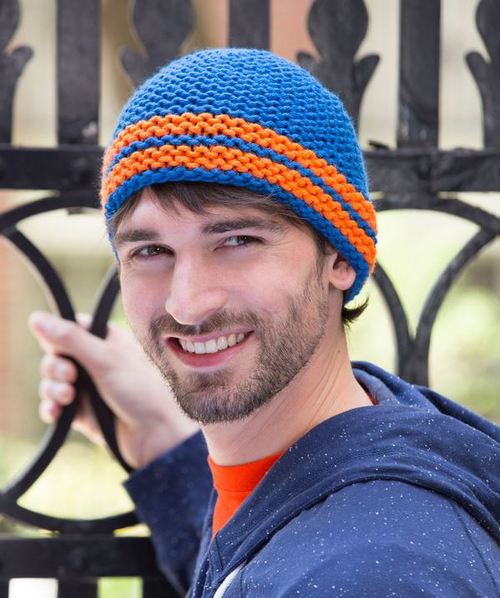
Garter Stitch Colorwork Patterns
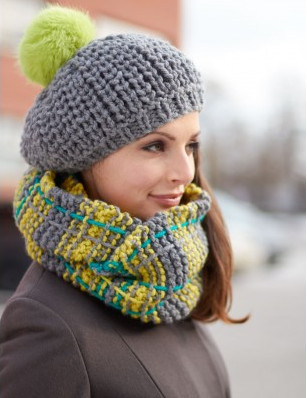
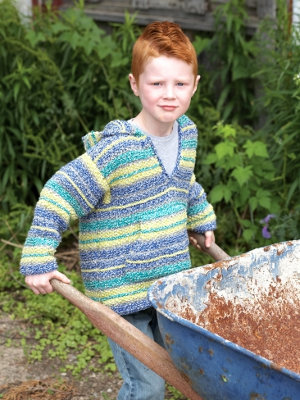
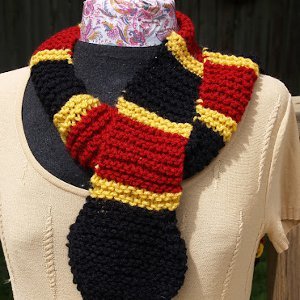
Try out this style of colorwork with some of these stunning patterns below!