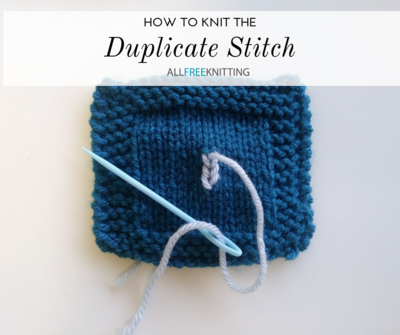
How to Do the Duplicate Stitch
Duplicate stitch in knitting is colorwork the easy way. Check out how to accomplish it!

Colorwork can seem like a daunting technique for knitters who have never attempted it before, but a lesser-known way of adding some color variation to your work is actually after the fact! That's right, you can add some colorwork to your knitting after you've already finished the main body of work, and the best part is that it will still look like knitting, rather than embroidery. This technique is called the duplicate stitch, and it's a way of going over completed stockinette stitch with a whole new color.
There are a ton of things you can do with this technique: you can add some polka dots to a simple knit hat, or even create a cute little design on an otherwise plain scarf. If you like to knit amigurumi, this is also a great way to add little accents onto the faces or bodies of your stuffies without having to worry about stranded knitting in the round. While this technique is great for small portions of color, it is unlike fair isle or intarsia in that it's best for smaller, isolated bits of color where it would be wasteful to continuously carry the yarn as you're doing your work.
It certainly helps that this technique is so easy! You just need a darning needle, contrasting yarn, and the ability to identify which stitch it is that you want to go over. Follow the steps below to learn how it's done.
For awesome tips and tricks like this, along with all the best knitting patterns, delivered straight to your inbox every day, subscribe to our newsletter!
Step 1
Identify the stitch over which you'd like to lay the new color. Here, I'm using my darning needle to point to the stitch on which I'd like to use the duplicate stitch.

Step 2
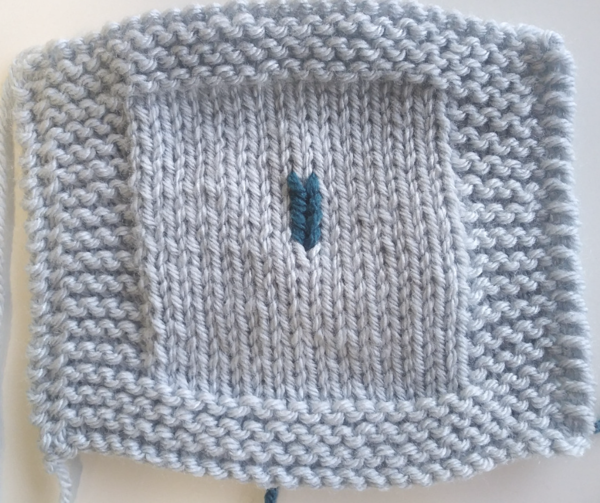
Move one stitch down on that column, and insert your needle in between the two legs of the "v" from the wrong side.

Note that your yarn will come up where the two legs of the stitch you're going over meet at the bottom. In this picture, the arrow is pointing to the stitch which you'll be going over.

Pull up as much yarn as you'll need to complete your duplicate stitching, which is approximately as much as you would need for one normal stitch of knitting. When in doubt, err on the side of caution and pull up more yarn on this first stitch.
Step 3
Next, insert your darning needle horizontally through both legs of the stitch directly above the one you're working duplicate stitch on.

Pull your yarn through. Notice you have covered one leg of the "v" of the stitch you are working with your new color.

Step 4
Insert your needle back where you came up from the wrong side in step 2, or from where the first leg of your duplicate stitch has come up, but this time from the right side. In this image, the needle is pointing to where you should insert it.

Pull your yarn through. You have now completed a single duplicate stitch.

Continue in this fashion until you have completed all of your duplicate stitching. While the stitching itself should be fairly sturdy, I still recommend weaving in your ends to the best of your ability to stop the stitches from slipping out or growing loose.
What's your favorite way to use duplicate stitch?