close

Search Term

Enter a search term (optional)

Categories

Select One (optional)

Printable

(optional)

Show only printer-friendly patterns


Difficulty Level

Select One (optional)

Yarn Weight

Select One (optional)

Knitting Needle Size

Select as many as you like (optional)

  • 1 or 2.25 mm
  • 2 or 2.75 mm
  • 3 or 3.25 mm
  • 4 or 3.5 mm
  • 5 or 3.75 mm
  • 6 or 4 mm
  • 7 or 4.5 mm
  • 8 or 5 mm
  • 9 or 5.5 mm
  • 10 or 6 mm
  • 10.5 or 6.5 mm
  • 11 or 8 mm
  • 13 or 9 mm
  • 15 or 10 mm
  • 17 or 12.75 mm
  • 19 or 15 mm
  • 35 or 19 mm
  • 50 or 25 mm
  • Circular Knitting Needles
  • Double-Pointed Knitting Needles (DPNs)
AllFreeKnitting.com

Menu

Free Offer
8 Designs for Knitting: Free Patterns for Beginners and Easy Knitting Stashbusters

Learn how to make easy knitting patterns with this FREE eBook! These fun patterns will have your stash under control in no time.

Bonus: Get our newsletter & special offers for free. We will not share or sell your email address. View our Privacy Policy

How to Do the Wrap On Cast On

Learn how to cast on with one of the easiest methods available!
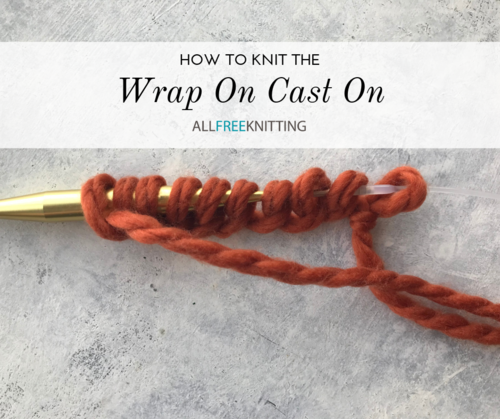
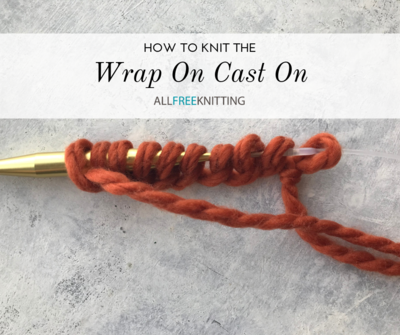
How to Knit the Wrap On Cast On

Much like the backwards loop cast on, this easy cast on method can be completed using only loops made by your thumb. The difference is that, rather than beginning in the middle of your work, this cast on method is used for beginning a knitted piece. While not exceedingly stretchy, this cast on is great for beginners who just want to jump into knitting their first scarf. It's also extremely quick to complete, making it perfect for projects where you have to cast on hundreds of stitches.

Step 1: Make a Slip Knot

Begin by making a slip knot and placing this on one of your needles. The tail does not have to be long, but leave enough of a tail to easily weave into your project later on.
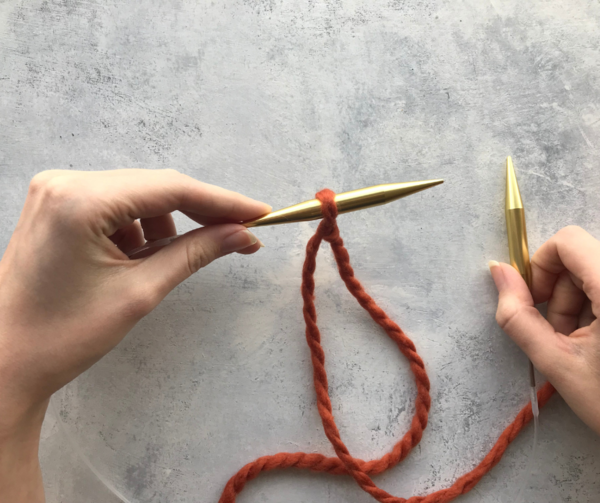
Step 1: Make a Slip Knot

Step 2: Prepare the Yarn

Wrap the working yarn around your thumb by scooping it up. It may help to hold onto the lower portion of the working yarn with your ring finger and pinky to help keep tension.
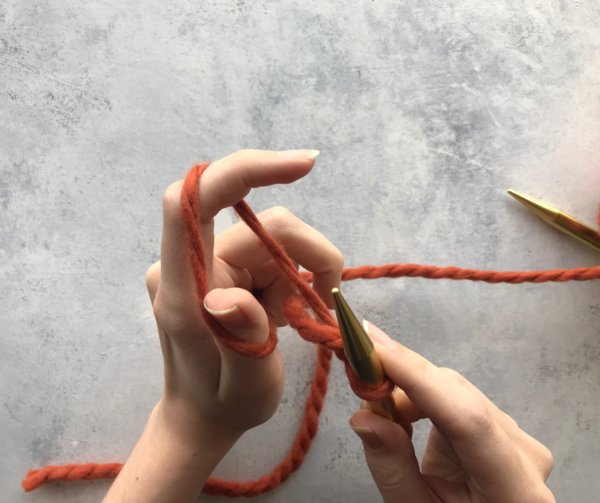
Step 2: Prepare the Yarn

Step 3: Slip the Loop Onto the Needle

Insert your needle upward into the loop on your thumb in order to create your second cast on stitch. Note that your slip knot counts as your first cast on stitch.
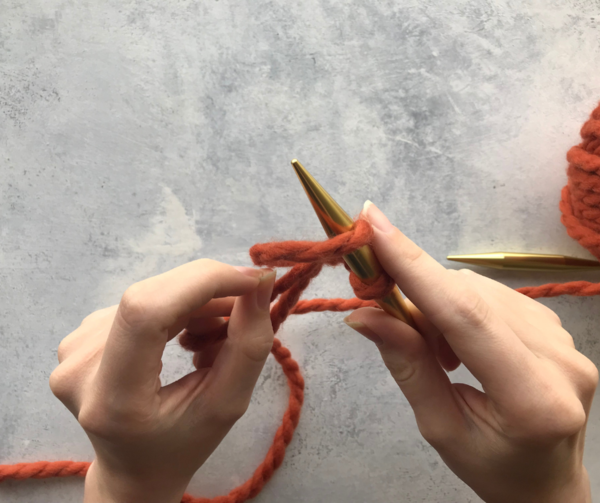
Step 3: Slip the Loop Onto the Needle

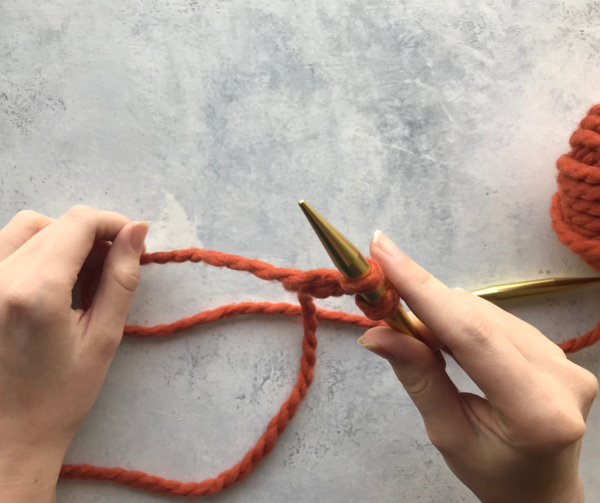
Step 4: Pull to Tighten

Pull on your working yarn once the loop is safely around your needle to tighten the stitch.
Step 4: Pull to Tighten

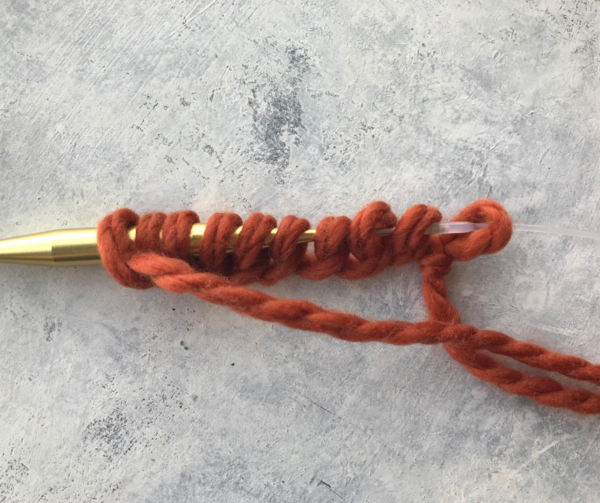
Step 5: Repeat steps 2 to 4

Repeat steps 2 to 4 as many times as you need to complete your cast on. Be sure to keep your tension even as you pull the stitches snugly in step 4.
Step 5: Repeat steps 2 to 4
Free projects, giveaways, exclusive partner offers, and more straight to your inbox!

Your Recently Viewed Projects

I have not made this yet so I cannot rate it.

Include a Photo Include a Photo

Click the button above or drag and drop images onto the button. You can upload two images.

Cancel Reply to Comment

Thanks for your comment. Don't forget to share!

Close

Report Inappropriate Comment

Are you sure you would like to report this comment? It will be flagged for our moderators to take action.

Thank you for taking the time to improve the content on our site.

Project of the Day

Summer Rose Shawl

Dress up any outfit with the Summer Rose Shawl. This free knitting pattern is an elegant way to keep warm on chilly evenings whether… Continue reading: "Summer Rose Shawl"


Something worth saving?

Register now for FREE to:

  • SAVE all your favorite patterns
  • ADD personal notes
  • QUICKLY reference your patterns


Connect With Us

Facebook Twitter Pinterest Twitter
Email RSS

About Us Advertise Contact Us FAQ Keyword Index Do Not Sell My Personal Information Privacy Policy Share Your Project Subscribe Terms of Service Unsubscribe

---- 1 ----

close

Images from other crafters

There are currently no images from other crafters.

I Love It