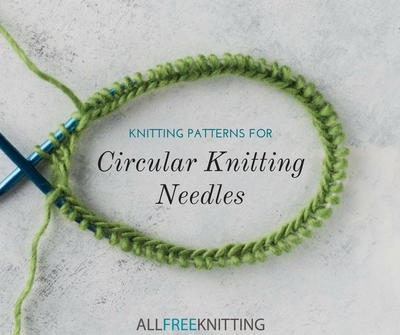
How to Soften Circular Knitting Needles
Straightening out the curl on your circular knitting needles can make knitting in the round a breeze!

We've all experienced that feeling of opening a new set of circular knitting needles and the excitement that comes with the possibility of casting on your first project with them. But then you start casting on and find that the cord still hasn't quite let go of the curls that it had in the packaging.
If you've had circulars for a while, you know that these straighten out over time, but waiting for that can be hard for impatient knitters! Luckily, there are a few tricks you can try to get them to straighten out a little faster and make knitting in the round a breeze.
There are basically three different approaches you can take to doing this:
Option 1: Break them in with a swatch
This is probably the best but slowest option for getting rid of those pesky curls in your knitting needles. Unfortunately for those of us who aren't quite as patient, this method does take longer than other approaches. Once you learn how to keep circular knitting needles from twisting this way, however, it may become your go-to.
Here's how to do it:
- Find some scrap yarn that matches the appropriate weight for the knitting needle sizes you're trying to straighten.
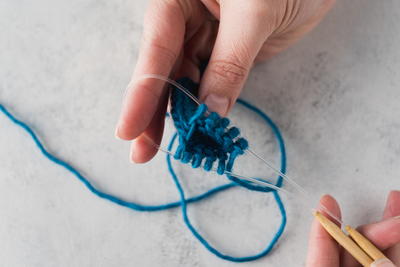
- Cast on enough stitches to cover the entire length of the circular needles. Join in the round:

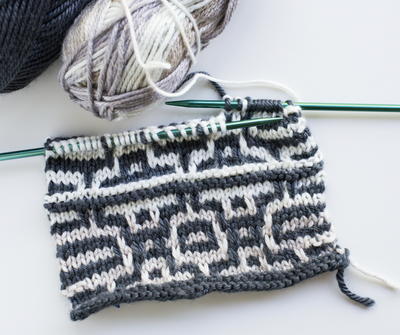
- Knit around (in garter stitch or stockinette stitch) several rows, until the knitting has noticeable length. I recommend knitting about two inches of fabric.
- The process of knitting this small swatch of fabric in the round will help straighten the needles and break them in.
- Once your needles have straightened, you can drop the stitches and frog the fabric back to save the yarn.
Option 2: Soften them with hot water
This approach learning how to untwist circular knitting needles is one that's a little more labor-intensive, but it will get your cord nice and loose for knitting.
Here's how to do it:
- Fill a pot with water and start to heat it up on your stove.
- Once the water has come to a boil, turn the heat off and let it cool slightly.

- Place the cord of your knitting needles in the water, leaving the needles themselves sticking out. (This will give you something to grab them with when they're done that isn't hot and won't burn your fingers.)
- Wait about 5 - 10 minutes for the cord to soften.
- Take the needles out carefully and wait for them to cool.
Pro Tip: We recommend letting them hang over the back of a chair while they cool and dry. This will help the needles straighten even more.
- Test your needles by knitting a small swatch with them. They should be much less curly!
Option 3: Soften them with steam
This last method for taking the curl out of your circular knitting needles is maybe the most effective of the three main methods. This approach involves straightening the needles out over a pot of water and letting the steam loosen the cord. Unfortunately, this is maybe the most dangerous method, too, so be very careful not to burn yourself when you're attempting this. Learn how to break in circular knitting needles this way if none of the other methods work, because it consistently works.
Here's how to do it:
- Bring a pot of water to a rolling boil on the stove. Leave it covered while it starts to boil.
- Once the water is boiling, remove the cover and hold the knitting needles over the pot.
- Let the needles steam for at least 5 minutes.

Pro Tip: If your pot has handles on either side, you can place the needles themselves into the handles, so you don't burn your hands holding them.

- After 5 minutes, turn the heat off and let the needles cool down.
- Remove the needles from over the pot and set them aside to cool on a flat surface.