How to Knit an SSP Decrease (Slip, Slip, Purl)
Learning how to do the SSP is an essential skill for intermediate and advanced knitting!

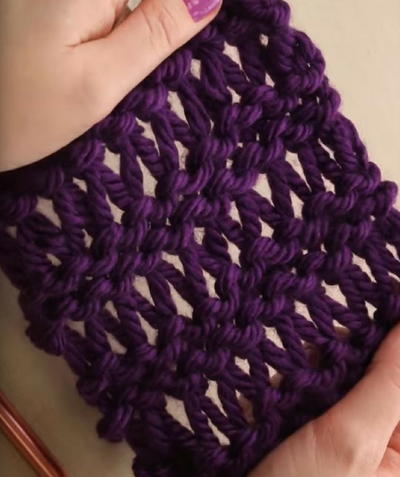
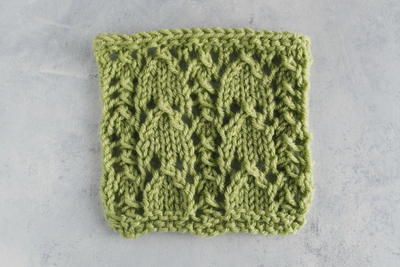
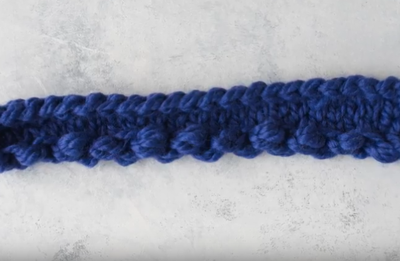
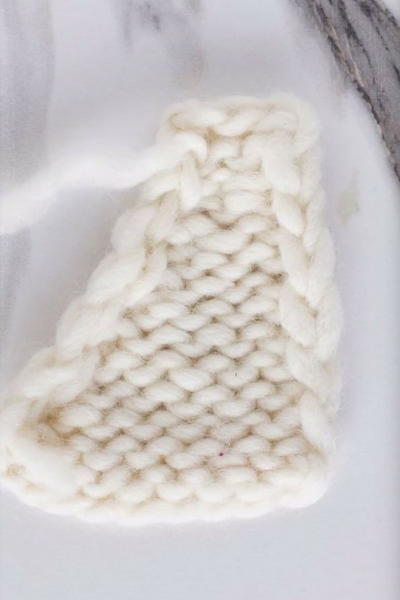
The slip, slip, purl decrease is popular in sweater knitting and shawls. This is one of the easiest decreases in knitting because it really only requires slipping stitches and one more advanced stitch called a p2togtbl.
This decrease is very similar to a slip, slip, knit decrease. Ssp is simply the reverse of this. In order to do this decrease in a way that aligns with the ssk on the other rows, the stitches must be flipped around and the p2tog should be done through the back loop. This might all sound tricky, but once you've done it a few times, it's really not that difficult, and you'll start to see how this decrease stitch matches the ssk.
If you're anything like the editors of AllFreeKnitting, you probably like to put your own spin on the knitting patterns that you try. One thing that you can do to customize patterns (especially hat patterns) is to change the decreasing methods. Once you understand the basics of knitting math, you can easily use your own decreasing methods (like the SSP) to make every pattern one-of-a-kind!
Watch and Learn
Materials
- Yarn
- Knitting needles that correspond to the size of your yarn
Instructions
Step 1
Work your row until the point where your pattern calls for the SSP.
Step 2
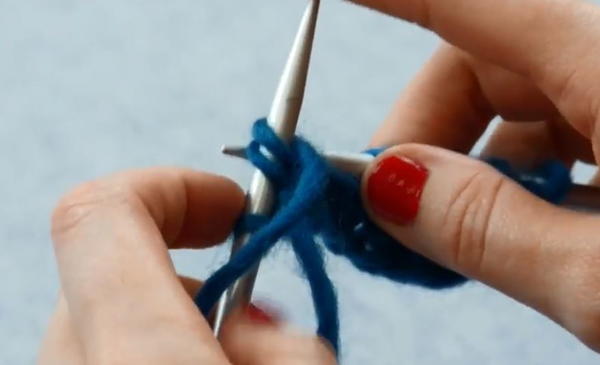
Slip the first stitch knitwise to your working needle.
Step 3
Slip the second stitch knitwise to your working needle.
Note: You cannot slip both of these stitches at the same time. Doing this will twist the stitches, and you won't be able to complete the SSP properly.
Step 4
Pass both of the slipped stitches to the lefthand needle. This simply changes the orientation of these two stitches.

Step 5
With the two slipped stitches, do a p2togtbl (purl two together through back loop.
How to work a p2togtbl:
- Bring your yarn to the front.
- Bring your working needle to the back of your lefthand needle.

- Insert your working needle through both of the slipped stitches from the back.

- Purl through both of these stitches, bringing the working yarn through both stitches.

- Sweep the two slipped stitches off the end of your needle

Step 6
Continue the rest of your row according to your pattern.
Up Next
Your Recently Viewed Projects
Thanks for your comment. Don't forget to share!
Mark
May 22, 2018
Definitely not the easiest decrease out there, but this video really simplifies it, and after a few tries, it's actually not that hard to do
Report Inappropriate Comment
Are you sure you would like to report this comment? It will be flagged for our moderators to take action.
Thank you for taking the time to improve the content on our site.