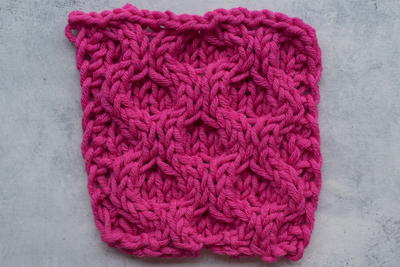
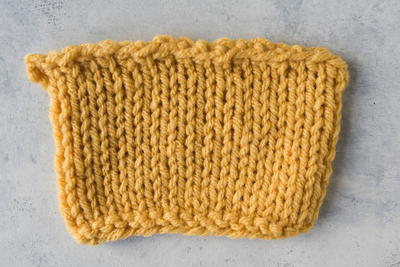
How to Knit the Honeycomb Stitch
The honeycomb cable stitch is perfect for beginners learning this fun technique!

For cowls, scarves, and sweaters, there's no textured stitch quite as adorable as the honeycomb stitch. This basic cabling stitch is super easy to master; in fact, most of it is basically just stockinette stitch. Even if you're new to cabling, this video tutorial makes it a breeze.
Because this pattern is only an eight-row repeat pattern, you'll have this pattern memorized in no time. The two simple cabling abbreviations shown below take the mystery out of cabling. Just a few repeats, and you'll be hooked on this stunning stitch pattern.

Materials List
- Yarn
- Knitting needles
Instructions
CO a multiple of 8 sts
Row 1 (RS): * C4f, c4b, repeat from * to end of row
Row 2 (and all WS rows): P across
Row 3: K across
Row 5: * C4b, c4f, repeat from * to end of row
Row 7: K across
Cabling Abbreviations
-
C4b (cable four back):
- Place the first two stitches onto your cable needle and let those stitches hang in the back of your work.
- Knit the next two stitches.
- Place the two stitches from your cable needle back on to your non-dominant hand needle and knit them.
-
C4f (cable four front):
- Place the first two stitches onto your cable needle and let those stitches hang in the front of your work.
- Knit the next two stitches.
- Place the two stitches from your cable needle back onto your non-dominant hand needle and knit them.