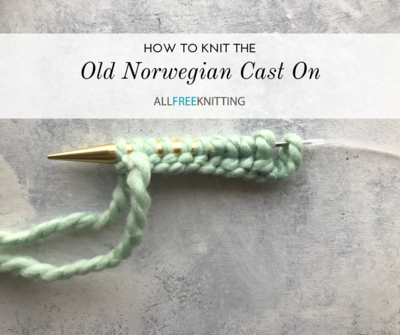
Old Norwegian Cast On Tutorial

The Old Norwegian Cast On is similar to the common long-tail cast on method but involves a few extra steps. Those who are familiar with the German Twisted Cast On might recognize itas the same cast on method with a (literal) small twist. We recommend being intimately familiar with the longtail cast on before attempting this method. Making this cast on in an even gauge creates a stretchy edge that resists curling, which is great for knitting socks, hat brims, and other fitted knit items.
However, this cast on method also uses more yarn, so make sure you have a very long tail before you begin! With this tutorial, you'll learn easily how to cast on for knitting with an insanely handy method.
Step 1: Make a Slipknot
Set up your needle and yarn as for long-tail cast on: Make a slipknot and slip it over your right-hand needle with the tail end closest to you and the ball end farthest from you. In the photo below, the tail end is on the left and the ball end is on the right. Tip: In order to create a long enough tail for this cast on method, wrap your yarn around your needle two times for every one stitch you need to cast on. This will leave you with more than enough yarn for this cast on.

Step 2: Set Up the Yarn
Wrap the tail yarn counterclockwise around your left thumb. Grip the ball end yarn with your index finger and middle finger, or wrap it around your index finger clockwise—whichever way you use to do a long-tail cast on and feels more comfortable for you. This is the set-up for each stitch you make in the Old Norwegian cast on method, and is the same way you set up a long-tail cast on.

Step 3: Begin the First Stitch
Begin the stitch by inserting your needle underneath the loop on your thumb—not through the loop, like you would with a long-tail cast on.

Step 4: Insert Your Needle
Bring the needle up and around the loop, and then insert it down the center of the loop.

Step 5: Twist the Loop
Bring the needle up around the yarn closest to you. This will twist the loop on your thumb and create an X.

Step 6: Bring the Needle Over
Bring the needle over the loop on your thumb and under the strand (or loop) on your index finger, and pull it towards you.

Step 7: Insert Needle Through Opening of X
This is the trickiest part! Bring the needle through the loop on your thumb through the back, but make sure to bring it through the bottom portion of the loop, below the X (or where the yarn crosses over itself). You may have to stretch the loop on your thumb and turn your hand a bit in order to see this opening.

Step 8: Drop the Loop
Drop the loop off your thumb and let it flop towards the back of your needle.

Step 9: Tighten the Stitch
Pull on the tail yarn to tighten the stitch. Leave it slightly loose for a stretchy edge.

Step 10: Repeat Steps 2-9
Voila! You have made your first Old Norwegian Cast-On stitch! Repeat steps 2-9 for the required number of stitches.

Your Recently Viewed Projects
Thanks for your comment. Don't forget to share!
Report Inappropriate Comment
Are you sure you would like to report this comment? It will be flagged for our moderators to take action.
Thank you for taking the time to improve the content on our site.