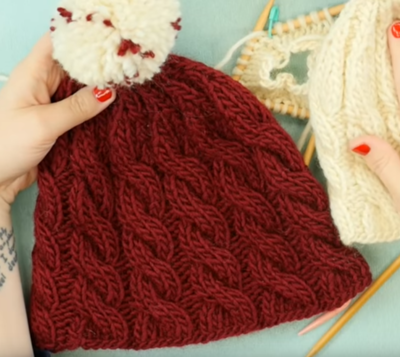
How to Fix a Twisted Knit Stitch
This common knitting mistake is super easy to fix! Never fear!

Twisted stitches happen to even the most experienced knitters. Many knitters simply ignore these small mistakes because they're often not noticeable in the final garment. In fact, some patterns even call for twisted stitches as a design element!
When twisted stitches really become a hassle is in lace knitting. When you create a twisted stitch, you're essentially knitting through the wrong side of the loop. A twisted stitch takes on a braided look that, at a glance, resembles stockinette, which can make them hard to find. Learn how to address twisted stitches with Heidi's easy tips and you'll never have to worry about ripping out rows and rows of knitting in order to address the issue.

Materials List
- Yarn
- Knitting needles
Instructions
-
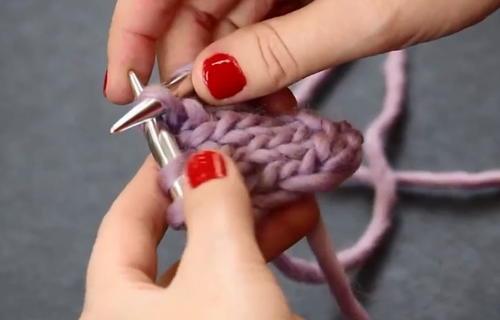
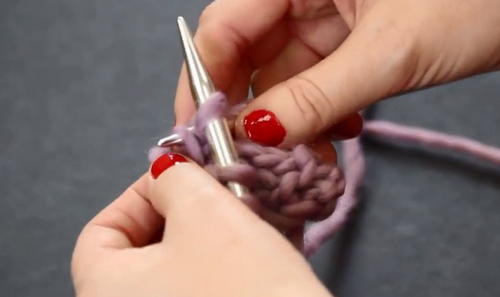
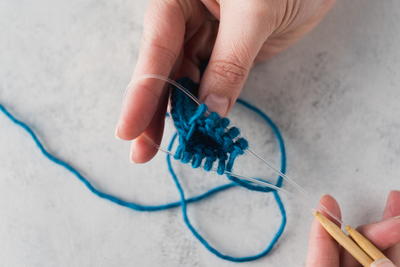
Begin slipping your stitches purlwise until you get to the column of stitches that contains the twisted stitch
-
Drop the next stitch from your needle. This can seem a little bit nerve-wracking to beginners who've never done this intentionally but never fear -- it's easy to fix.
-
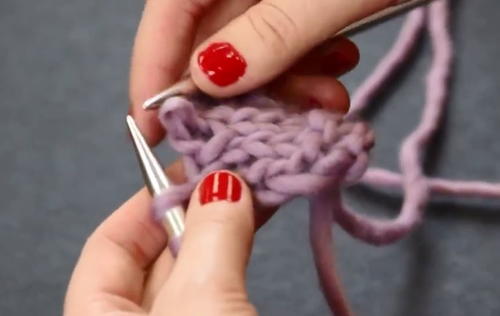
Pull this stitch out from the stitch below.
-
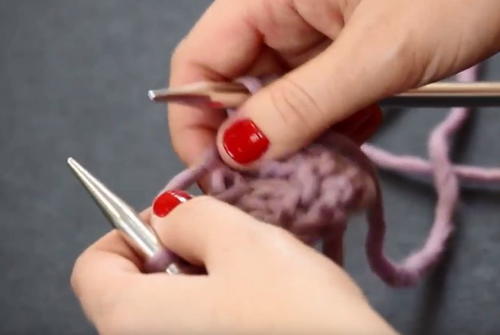
Once you get to the twisted stitch, you will want to put the stitch on your non-dominant needle the correct way. This simply means that the leading leg should be in front and the lagging leg is in the back.
See below: -
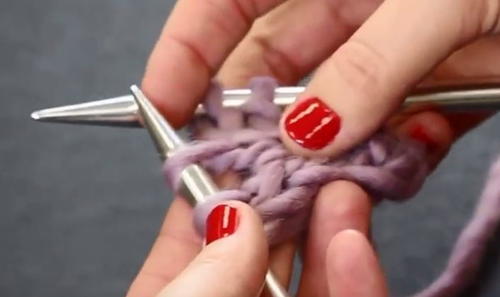
Insert your working needle into this stitch knitwise. Knit through this stitch with the first ladder of yarn.
-
Repeat step 5 until you get to the top of your column of stitches.