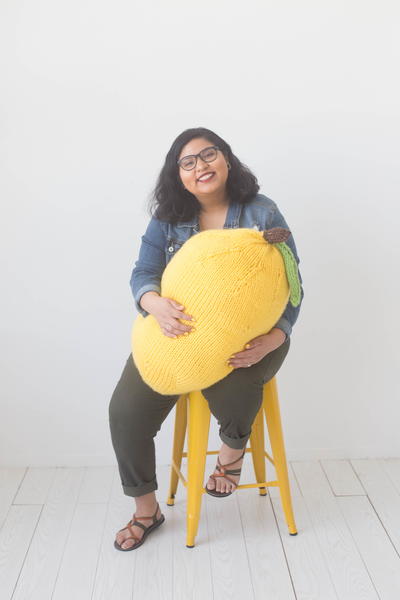
Lattice Cable Pillow Pattern
Learn how to knit a pillow the easy way with this cable knit pillow pattern!

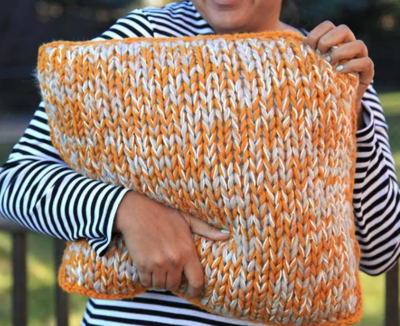
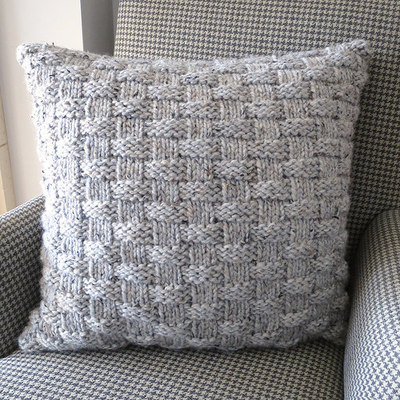
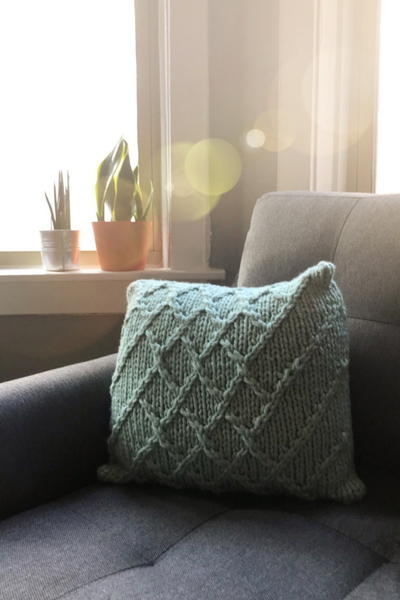
Add a pop of handmade pizzaz to your decor with this simple but elegant knit pillow pattern. The interwoven cables in this pattern might look complicated, but even beginners can work this pattern with ease as long as you know how to cable and how to read a knitting chart!
Carefully placed 2-over-2 cables are woven together in this pattern to create a design of diamonds with legs that extend out to the edges of the pillow.
Because this pattern uses super bulky yarn, you can knit this whole design in a weekend! It's also a pretty relaxing pattern since it's largely stockinette in the round. Even if you make a mistake, these cables are easily fixed. Give this pattern a try and share your progress with us in the comments!

Knitting Needle Size15 or 10 mm, Circular Knitting Needles
Yarn Weight(6) Super Bulky/Super Chunky (4-11 stitches for 4 inches)
Materials List
- An 18 x 18 inch pillow form
- Size 15 circular knitting needles, 36"
- ~275 yards of weight 6 yarn | MillaMia Naturally Soft Super Chunky in Eau de Nil
- A cable needle or DPN
- Tapestry needle (yarn needle)
Pattern
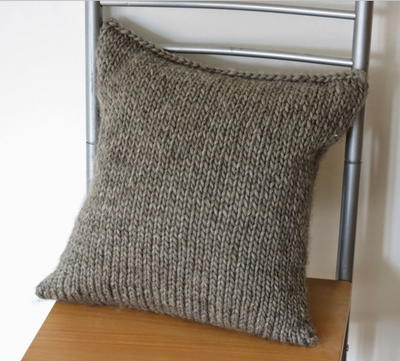
This pillowcase is knitted in the round as a wide tube that is then seamed at the top and the bottom around the pillow form. The front of the pillowcase consists of the first 36 stitches of each round and the back of the pillowcase consists of the latter 36.
Note: In order to save room in the chart itself, the cabling chart shown below only includes the first 36 stitches of each round. The remaining 36 stitches (for the back side of the pillow) are all knit in stockinette.
Starting
CO 72 sts longtail.
Note: You can leave an extra long tail (20-24 inches) from the end of your cast on for seaming at the end. If you can't get a tail this long, however, you can always seam with a separate piece of yarn.
Join in the round.
Rnds 1-2 (set up rounds): Knit all sts
Note: The first set up round gives you stitches for your seaming at the end; the second set up round gives you the necessary stitches to begin your lattice cabling in the subsequent section.
Cabling
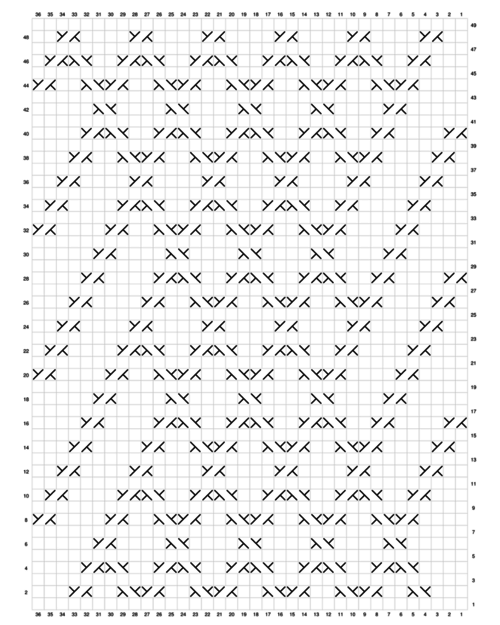
Continue cabling as shown in the chart below.
Important Note: The chart below shows all rows of the lattice cable pattern that makes up the front of the pillow but not the back. The front of the pillow only represents the first 36 stitches of each round; the last 36 stitches of each round are knitted to give a back side that is entirely stockinette.
-
Cabling Chart:
-
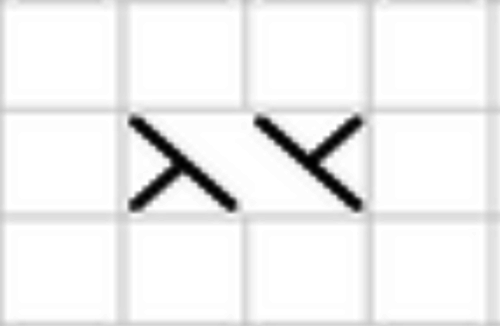
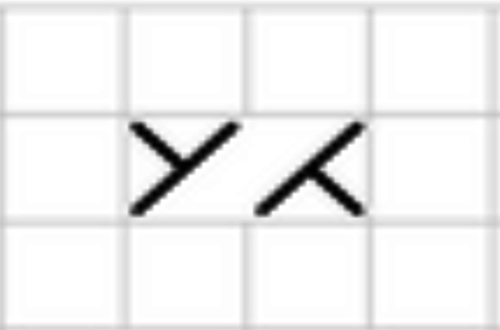
C2f (cable 2 front):
- Slip the first stitch onto your cable needle.
- Let the cable needle rest in the front of your work.
- Knit the next stitch.
- Then knit the stitch from your cable needle.
-
C2b (cable 2 back):
- Slip the first stitch onto your cable needle.
- Let the cable needle rest in the back of your work.
- Knit the next stitch.
- Then knit the stitch from your cable needle.
Finishing
Using your tail of yarn, seam the two sides of your cast on together. There are many different seaming methods you could use here, but the steps below show you how I did this.
-
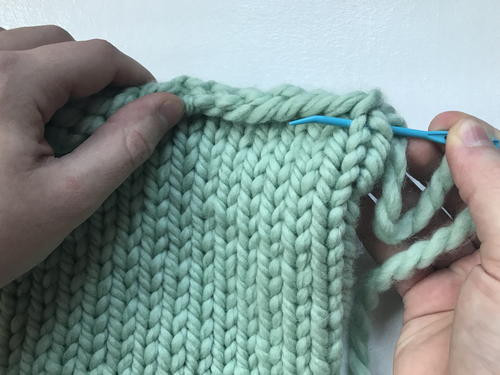
Thread your tapestry needle with your tail of yarn.
-
Insert your needle through the middle of the first stitch on the "back" side of your pillowcase and pull it through.
-
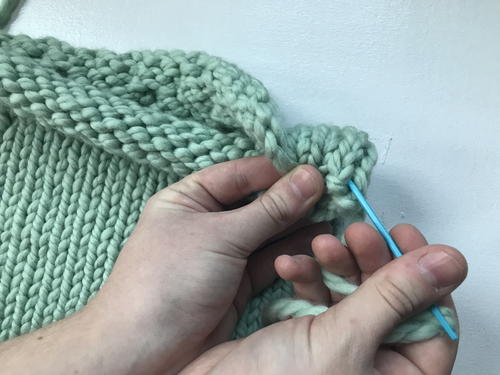
Next, you'll identify the first stitch on the "front" side of your pillowcase. Insert your tapestry needle behind both legs of this stitch.
-
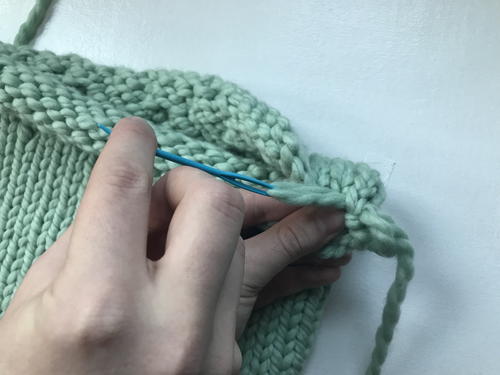
Pull the yarn through. Then insert it back through the center of the stitch from the "back side" of your pillowcase.
-
Be sure to pull your seam tightly so it remains secure. Repeat this all the way down your cast on round until you've completely closed that end of your pillow.
Bring the yarn through and into the inside of your pillowcase. Weave in that end. -
Insert your pillow form into the pillowcase and repeat steps 1-5 for the top seam of your pillow.
Note: Once you've finished seaming this final seam of your pillow, I recommend bringing the yarn through the inside of your work and then back to the outside. Then you can weave in your end on the outside of your pillow using the duplicate stitch.

Up Next:
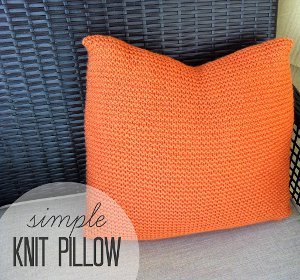
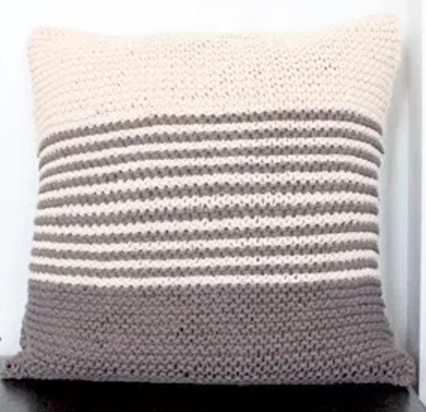
Read NextSimple Seamless Cushion Cover
Your Recently Viewed Projects
Thanks for your comment. Don't forget to share!
Lisa
Jan 26, 2021
With pillows, I always use a provisional cast on and a very long end, to do a three needle bind off rather than sewing at the end.
Report Inappropriate Comment
Are you sure you would like to report this comment? It will be flagged for our moderators to take action.
Thank you for taking the time to improve the content on our site.