How to Knit a YO Increase
Learning how to knit a yarn over increase is easy with this quick video tutorial. Give it a try, and you'll be lacing in no time!

One of the easiest increases in knitting is the yarn over, often abbreviated in knitting patterns as (YO). In this video, you'll learn how to do the yarn over as well as how it will affect the fabric.
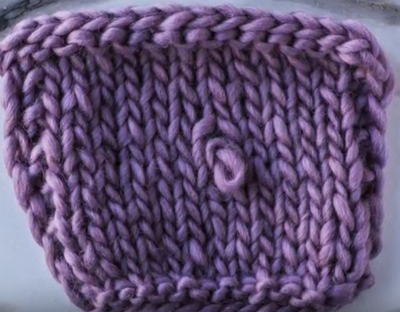
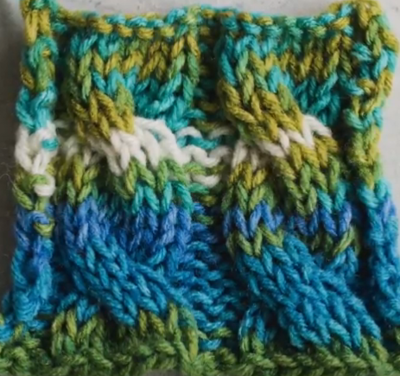
This type of increase works by adding an extra stitch anywhere in the row so that when you go over those stitch in the subsequent row, the knitting will skip that stitch, creating a kind of hole in the fabric.
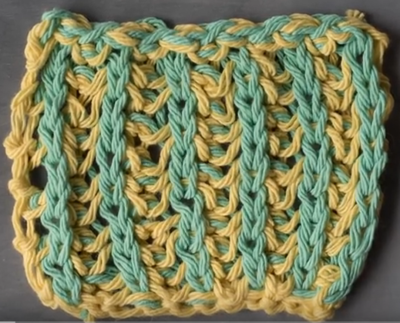
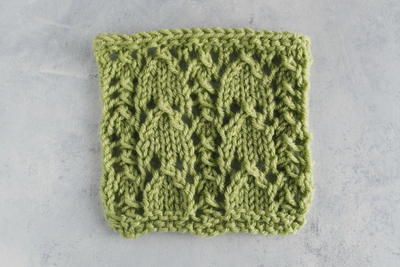
The holes that are created by YOs are often used as decorative elements depending on where you place them and how you work them. If you've ever wanted to try lace knitting, the yarn over stitch is an essential stitch to learn. Don't be intimidated, it's really simple to master. YO increases are extremely versatile, so be sure to watch the full video to learn how to incorporate this easy technique into your next knitting project.

Materials List
- Yarn
- Knitting Needles
Looking for more knitting tutorials? Check out this helpful collection -Knitting Stitches Library
Instructions
-
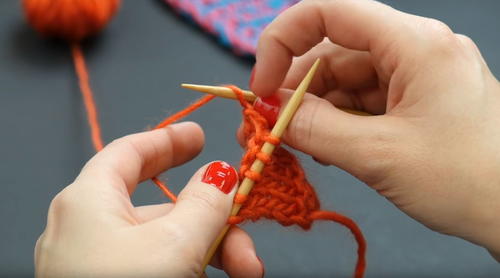
Work your pattern up to the point where it calls for a yarn over.
-
Take your working yarn towards you and wrap it up and over your working needle.
-
This will create another loop for you to knit through in the next row that is independent of the stitches in the previous rows.
Note: In stockinette, most yarn overs are done on a RS row because purling through the yarn over in the next row will help it lay nice and flat.
Read NextHow to Knit the Snowdrop Lace Stitch
Your Recently Viewed Projects
Thanks for your comment. Don't forget to share!
RachelAnne
Jan 08, 2018
Wow this is really interesting! I've never tried this type of decrease before, but it seems pretty simple. I didn't have my needles with me to follow along, but I'm definitely going to give it a shot soon!
Report Inappropriate Comment
Are you sure you would like to report this comment? It will be flagged for our moderators to take action.
Thank you for taking the time to improve the content on our site.