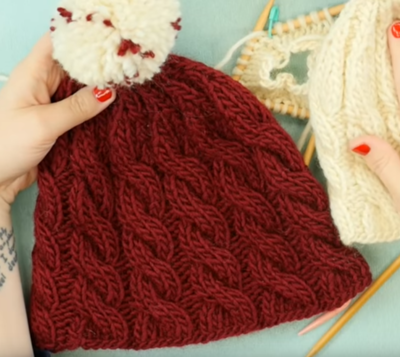
How to Knit Braided Cables
This braided cable knit is easier than you might think and a great way to add texture to your knitted fabric!
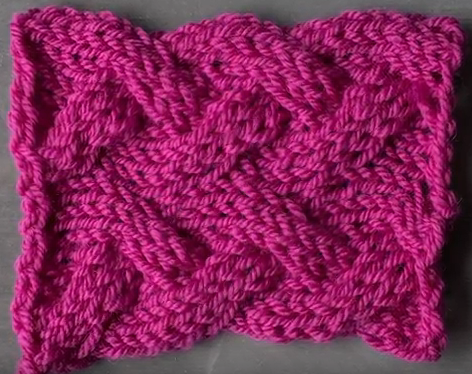
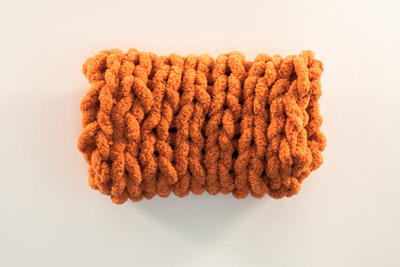
Learning how to knit braided cables is a great way to advance after you've masted the twisted cable stitch. These interlocking cables are simply stunning. To work up a fabric that looks like it has knit cables running through it, you simply knit with cables that are consistently staggered throughout.
Your pattern will keep you on track as you go, or if you're designing your own pattern, it might be helpful to map out your design ahead of time. By simply varying the placement of left- and right-leaning cable knit stitches, you can create a work that's elegant and timeless. Try varying the thickness of the cables and see what you can create!

Materials List
- Yarn
- Knitting needles
- Cable needles or DPNs
Instructions
-
CO 9
-
Row 1: (RS) K all stitches
-
Row 2: (WS) P all stitches
-
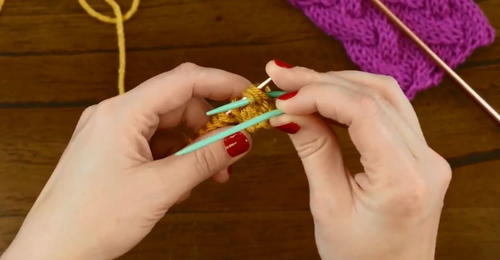
Row 3: Slip the first three stitches of the row onto your cable needle and let the needle rest behind your work.
K 3 sts. Place the three stitches from the cable needle back onto your knitting needle and knit those stitches.
Knit to the end of the row. -
Row 4: P all stitches
-
Row 5: K all stitches
-
Row 6: P all stitches
-
Row 7: K 3 sts.
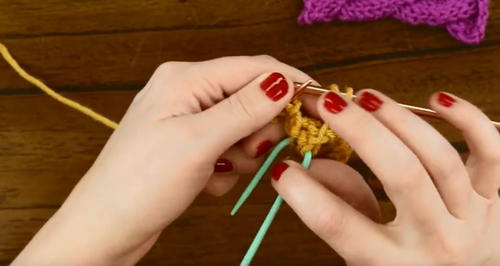
Slip the next three stitches onto your cable needle and let the needle rest in the front of your work.
Place the three stitches from the cable needle back onto your knitting needle and knit those stitches.
K to the end of the row. -
Row 8: P all stitches
-
Repeat rows 1-8 until your braids have reached your desired length.
Read NextHow to Knit the Ridge Stitch
Your Recently Viewed Projects
Report Inappropriate Comment
Are you sure you would like to report this comment? It will be flagged for our moderators to take action.
Thank you for taking the time to improve the content on our site.

