How to Work the Channel Island Cast On
Go beyond the longtail. This decorative cast on method is just what you need for your next shawl!

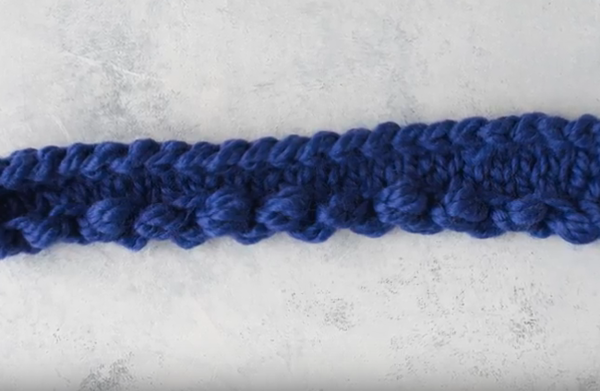
Spice up your knitting patterns with this the Channel Island cast on. This decorative cast on is less common than the longtail cast on, so the technique and the result it yields is slightly different. But once you've done it a few times, you'll probably find that it's just as easy to work.
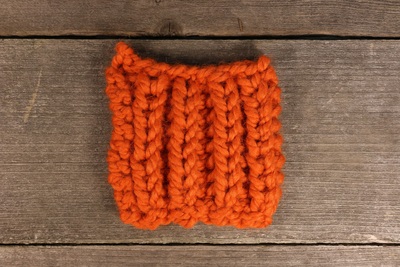
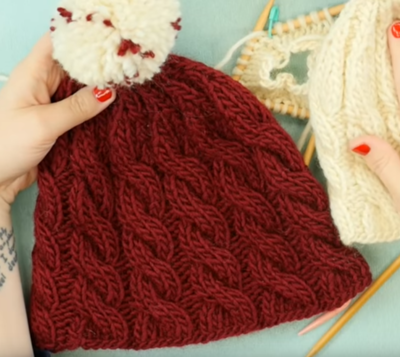
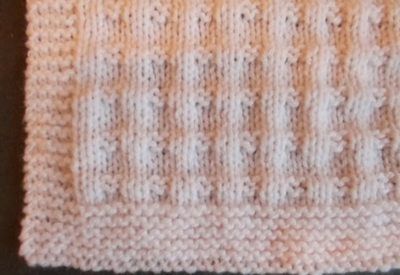
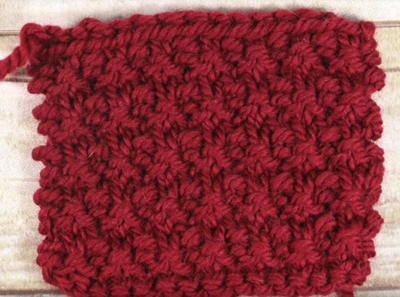
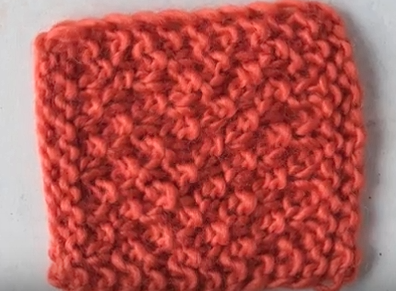
The decorative cast on has a scalloped end, which is perfect to add to sleeves, sweaters, shawls, and the brims of hats! This particular cast on process is a little hard to master at first because it involves many more strands of yarn than are required for a traditional longtail cast on; however, once you get more comfortable with the technique, it is a great way to add more interest to your knitting designs. Because you cast on two at a time with this method, be sure to use it only for patterns that call for an even number of cast on stitches.
Watch and Learn
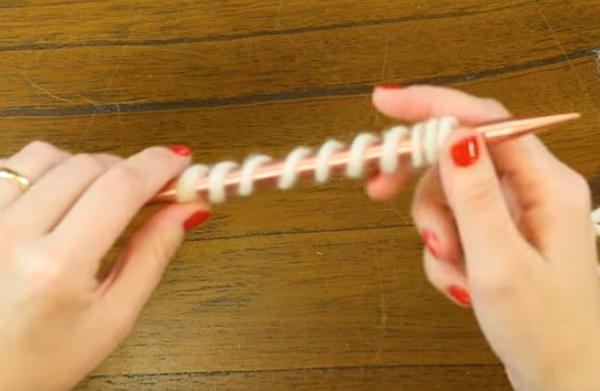
Step 1
Take your yarn and loosely wrap it around the needle the number of stitches your pattern requires for the cast on. This is how you will estimate how long your tail should be for the cast on.
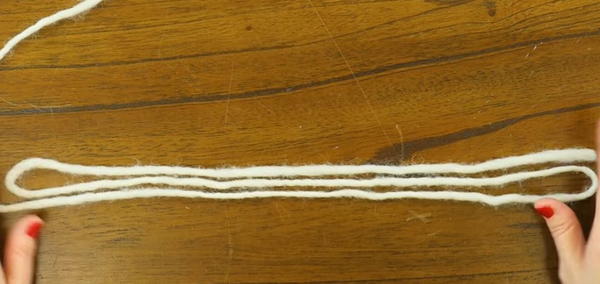
Step 2
Remove the needle and hold the yarn to measure the length of the tail. Then fold that tail over twice to triple the amount of yarn for your extra long tail.
Step 3
Place your yarn on your hands, just like you would for a longtail cast on.
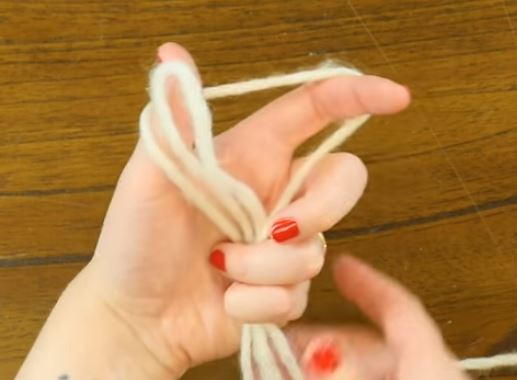
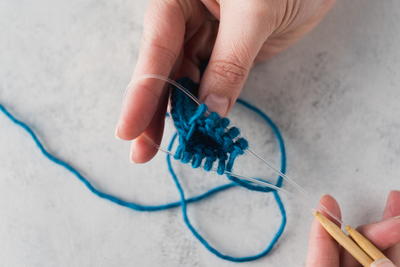
Step 4
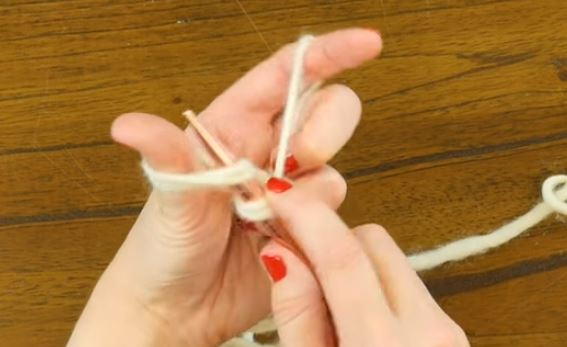
With one of your knitting needles, secure the center of your set of three strands of yarn.
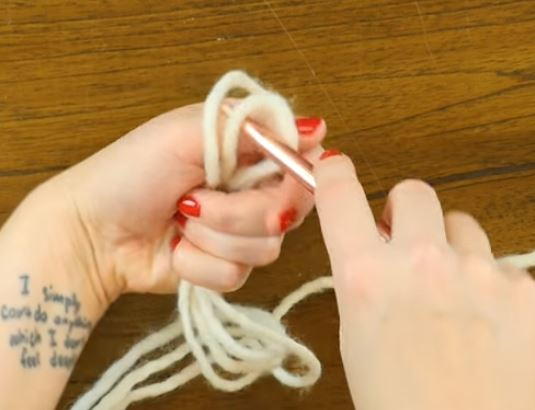
Step 5
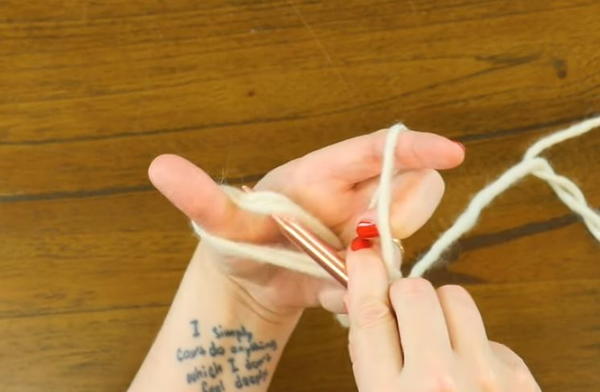
Bring your needle around to the left side of your yarn and pick up the yarn under your thumb.
Step 6
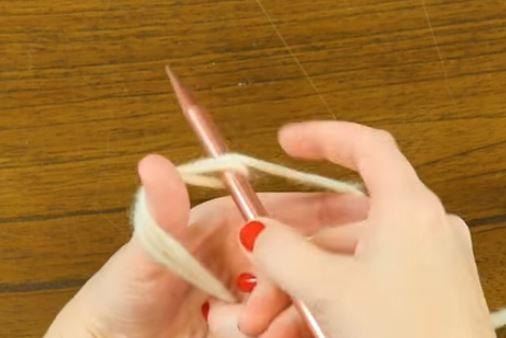
Catch the piece of yarn that's around your forefinger.
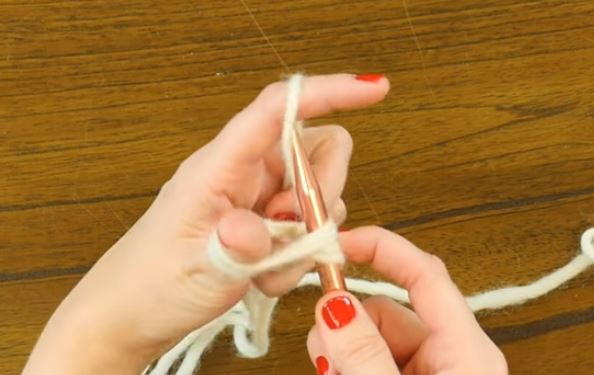
Step 7
Bring the yarn through the middle of the loop around your thumb.
Step 8
Then drop the yarn from around your thumb and tighten.
Step 9
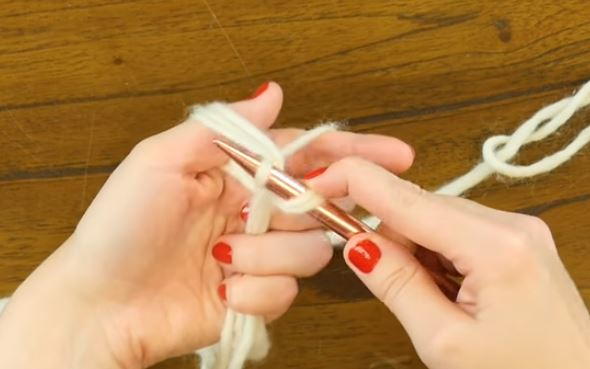
Next, you're going to repeat the cast on from steps 5 through 9 but in a sort of reversed fashion.
To do this, start by flipping the direction of the yarn around your thumb like this:
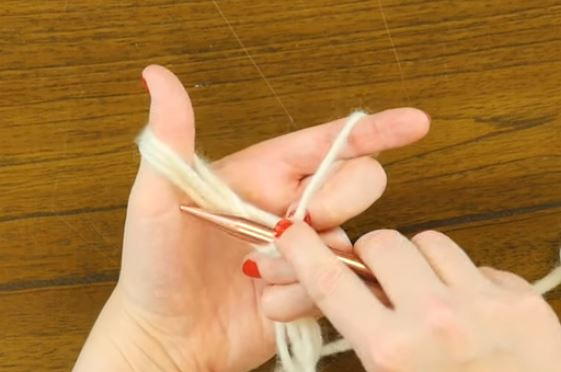
Step 10
With your working needle, pick up the yarn that's around the far side of your thumb.
Step 11
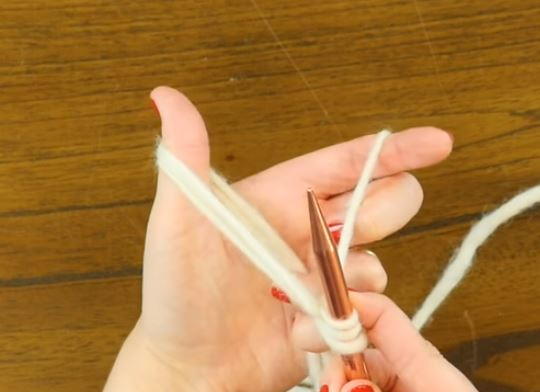
Go over the single strand around the forefinger.
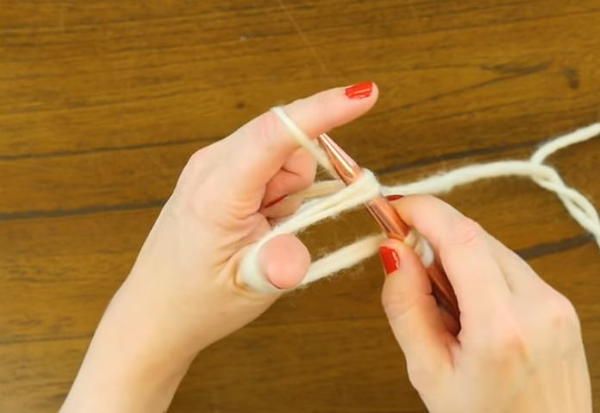
Step 12
Then bring the needle up and in between the loop that's around the thumb. Finally, drop the loop of yarn from around the thumb.

Step 13
Repeat steps 5 through 13 until you've finished your cast on!
Up Next:
How to Do the Thumb Method Cast On
Have you tried this fun cast on?
Share your results in the comments!
Your Recently Viewed Projects

Thanks for your comment. Don't forget to share!
Tricia108
Oct 24, 2017
I love learning new ways to cast on. The video is really helpful. It does not look too difficult and should be a great way to cast on. It won't be as quick but it will make for a great beginning. And they even have a hat pattern to use the cast on with. Thank you.
Report Inappropriate Comment
Are you sure you would like to report this comment? It will be flagged for our moderators to take action.
Thank you for taking the time to improve the content on our site.