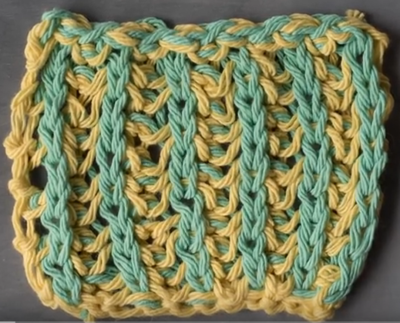
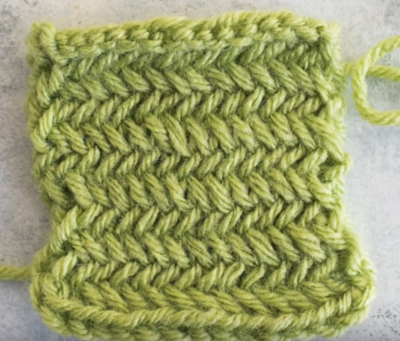
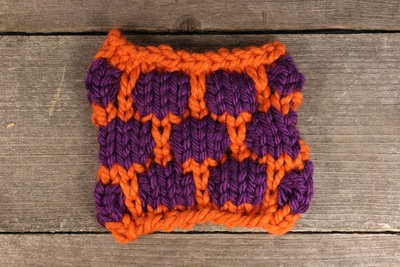
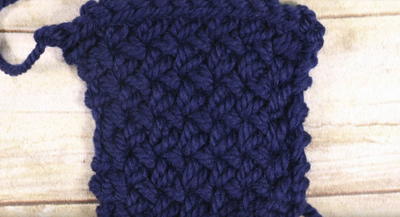
How to Knit the Diagonal Basketweave Stitch
This truly mind-blowing knit stitch looks intricate, but it's really just a simple, two-row repeat.

Knitting can seem so intimidating at first. There are just so many stitches, and so many smaller components of those stitches! This tutorial for how to knit the diagonal basketweave stitch will take you step-by-step through a really unique stitch.
With this pattern, which resembles an actual woven basket, you can learn how to knit blankets, sweaters, and even scarves with a cute woven pattern. All it takes is a little patience and the willingness to learn, and soon you'll be spewing out basket weave knitting projects left and right.

Materials List
- Yarn
- Knitting needles
Pattern
CO a multiple of 2 sts + 1
Row 1 (RS)
-
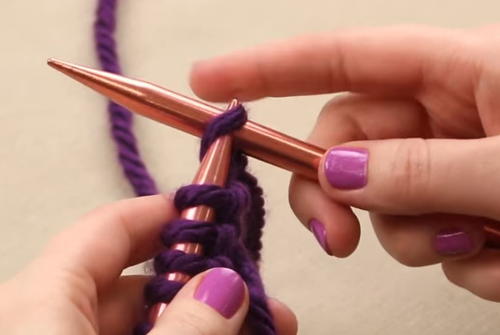
Slip the first stitch knitwise.
-
Slip the next stitch purlwise with the yarn in back
-
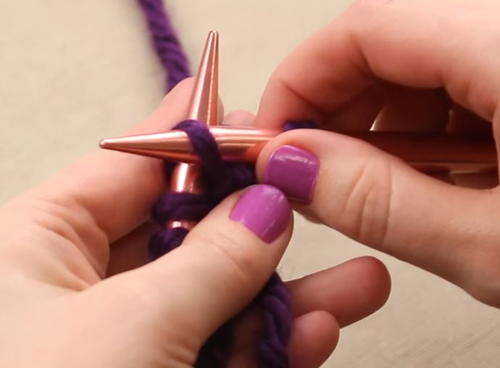
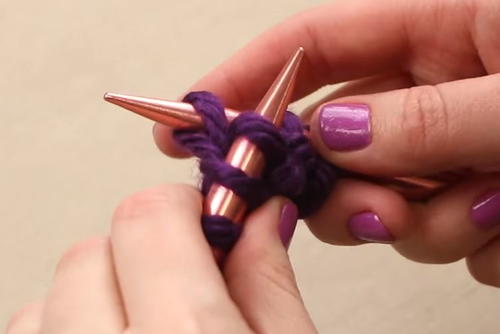
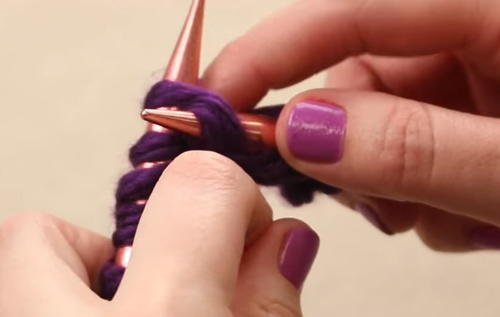
Insert your working needle into the back loop of the second stitch on your non-dominant needle. This might feel a little strange at first since you're skipping a stitch.
-
Knit this stitch through the back loop but do not sweep the stitch off of the needle.
-
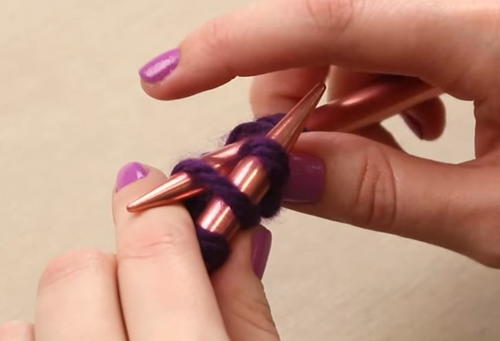
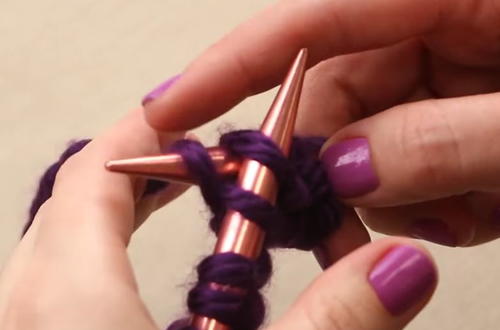
Next, you will knit the first stitch through the back loop.
-
Once you've done that, take both of the stitches that you knit through the back loop and sweep them off your needle.
Note: For the stitches that you're knitting through the back loop, it's important to give yourself plenty of slack in your yarn so that your fabric isn't super tight. -
Repeat steps 3-6 until you have one stitch left. Knit the last stitch.
Row 2 (WS)
-
Slip the first two stitches purlwise with the yarn in back.
-
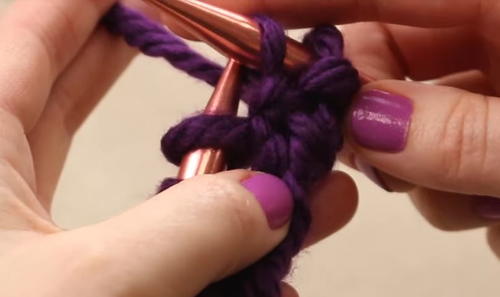
Bring the yarn to the front of your work, and purl the second stitch on your non-dominant needle without sweeping the stitch off.
-
Next, purl the first stitch on your needle. Just like in row 1, these stitches are worked out of order.
-
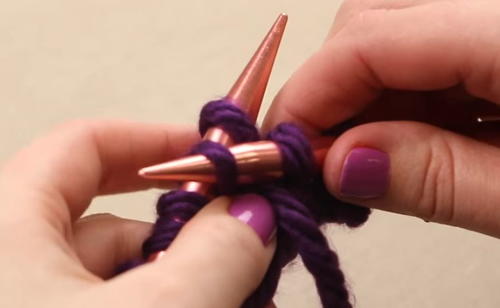
Sweep both of these stitches off of your needle.
-
Repeat steps 2-4 until you have one stitch remaining on your needle. Knit the last stitch (not purling, even though this is a WS row), and you're done!
Read NextHow To Knit Seed Stitch
Your Recently Viewed Projects
Thanks for your comment. Don't forget to share!
Report Inappropriate Comment
Are you sure you would like to report this comment? It will be flagged for our moderators to take action.
Thank you for taking the time to improve the content on our site.