Adding Ruffles to Your Knitting Patterns
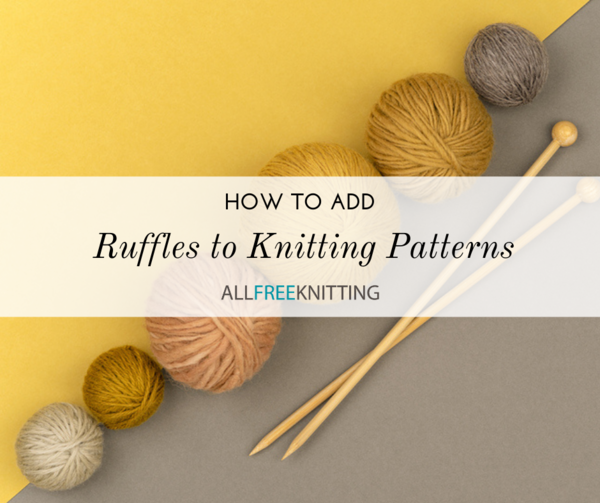
Hello knitters! Last month I shared some tips on adding ruffles to crochet patterns, and I did not forget about you. It is now time for some tips on adding ruffles to your knit patterns!
You can add ruffles onto an existing pattern using this technique, or you can use this technique in a pattern you are designing yourself. We love this technique because it is a beautiful way to add something jazzy to a pillow, bed skirt, or even a scarf. This knitted ruffle technique is sure to become one of your favorites for your knit projects. Ruffles are so cute, so fun, and a great way to alternate colors in your knitting projects!

Step-by-Step Instructions:
-
Your first step is to decide where you want the top of each of your ruffles.
-
Work your pattern until 1 row above where you want the ruffle, ending with a right side row. Make the next 3 rows (wrong side, right side, wrong side) all purl. Continue with your pattern, repeating this step for every ruffle you want.
-
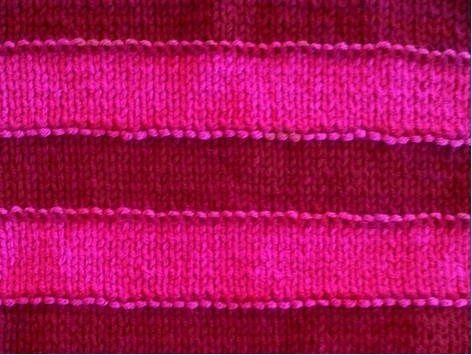
In the picture below you can see that I was working in stockinette stitch. You do not need to have a stockinette pattern to use this technique, but it is easier to see how it all works this way. I changed color on each row where I wanted to add a ruffle. You can clearly see the ridges formed from the purl row that has been worked on the right side of the fabric.
-
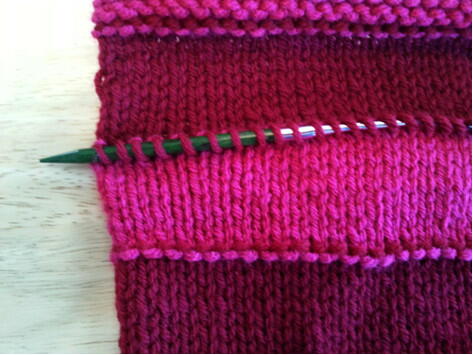
Starting from the right (as in opposite of left) side of your piece, pick up the bottom loops of the ridge all the way across. In the picture below you can see that the bottom loops are the dark pink, for the next ruffle the bottom loops would be the lighter pink. I use the bottom loops because I can insert my hook easily from top to bottom in each loop, which puts everything on the needle in just the right way to work the next row.
-
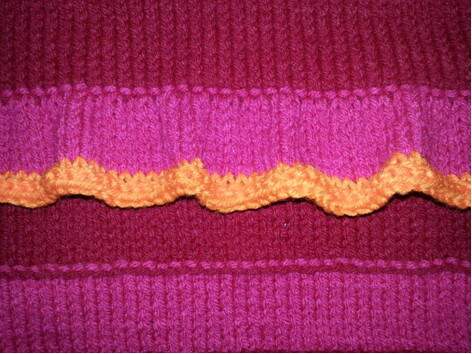
Now it is time to make your ruffle!! Starting with the last stitch you picked up, [K1, KFB] all the way across. This is a right (front) side row. Now continue ruffle in your chosen stitch, keeping in mind the next row is a wrong side row. The ruffle in the picture below is worked in stockinette with a small garter stitch border.
-
You can see the top loops of the ridge row which make a nice little border on top of the ruffle. If you do not want that border, you can pick up the top loops instead of the bottom. This will create a more seamless ruffle.
For a fuller ruffle, you can KFB in every stitch on the first row of the ruffle. You can even KFB on every other or every stitch on the third row of the ruffle as well.
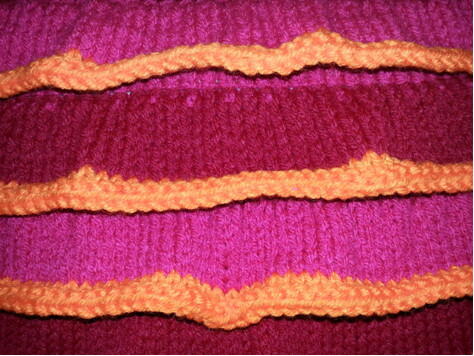
Now keep going with all the ruffles you want to add. -
There you have it! Add a ruffle to your favorite knit pattern! If you would like some practice, here is a free pattern for a ruffled pillow cover for you.
Browse: How to Knit Flowers
What do you love most about ruffles? Let us know in the comments!