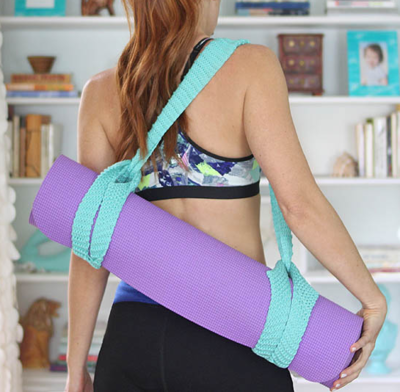
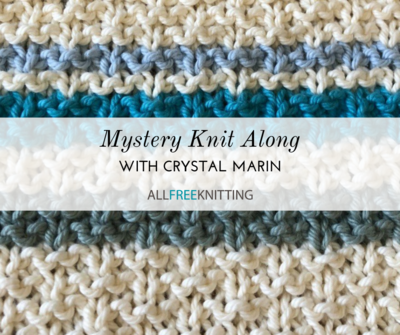
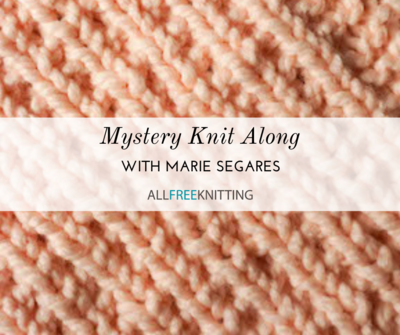
February 2021 Mystery Knit Along
Join us every week in February for a mysterious knit along!

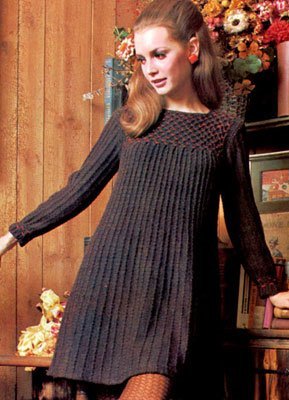
2021 is starting off strong with a Mystery Knit Along! Join us every Wednesday in February for each exciting new installment of an exclusive pattern, but here's the twist: you won't know what you're knitting right away! We've joined forces with the incredibly talented Marie Segares from Underground Crafter to bring you this knit along, so you know the end result will be as gorgeous as it is fun to knit. Looking for a hint? Here's the only one we'll give you: you'll wonder why you haven't knit something like this before!
How do I join? In order to be updated with the latest set of instructions every week, make sure that you're subscribed to the Knit Picky Patterns newsletter from AllFreeKnitting and keep an eye on your inbox! We'll be sure to send you an email each week to bring you the next step in the knit along.
PLUS! Don't forget to share with us your progress every week in the comments down below. We can't wait to see how yours turn out!
Week 1: Welcome, Supplies, and Gauge Swatch
Welcome to the mystery knit along. I’m Marie from Underground Crafter and I’m excited to be knitting with you all! In this post, I’m including a complete supply list and schedule for the knit along, with instructions for checking your gauge.
At the end of our knit along, you will have a warm and cozy project that would be great for wearing, gifting, or donating.
This is a beginner-friendly project, or a relaxing knit for a more experienced knitter. To complete this project, you’ll need to know:
- How to cast on. I used the Long-Tail Cast On, but you can use another method of your choice.
- Basic knitting stitches including knit, purl, and slip stitch.
- How to bind off. I used the Standard Bind Off.
- Approximately 176 yards (161 meters) in each of 2 colors in any super bulky yarn – I used 1 skein each in Lion Brand Wool-Ease Thick & Quick Bonus Bundle in 101 Antique and 544 Storm Front. Tip: Coordinating or contrasting colors in yarns that are solid or semi-solid colors will show off this design most clearly.
- US Size 15/10 mm knitting needles, or size needed to obtain gauge.
- Locking stitch markers – at least 5.
- Yarn needle.
- Tools for measuring and cutting.
9-1/2 sts = 4” (10 cm) in stockinette stitch
To work gauge swatch, CO 10 sts.
Row 1: K across.
Row 2: P across.
Repeat Rows 1-2 until swatch measures approximately 4” (10 cm) long. BO in pattern for Row 1.
Swatch should measure just over 4” (10 cm) wide.
Troubleshooting Your Swatch Gauge:
If your swatch is much wider than 4” (10 cm) wide, your stitches are too large. You may want to go down a needle size to a US Size 13/9 mm needle. Or, you can continue with the needles and tension you have, but your project will be wider than the sample and your yarn requirements may be different.
If your swatch is much narrower than 4” (10 cm) wide, your stitches are too small. You may want to go up a needle size to a US Size 17/12 mm needle. Or, you can continue with the needles and tension you have, but your project will be narrower than the sample and your yarn requirements may be different.
You can find out more about knitting gauge here and needle sizes here.
Week 2: Pattern Part 1
Welcome back to the mystery knit along. I’m Marie from Underground Crafter and I’m excited to be sharing the first part of this pattern!
Abbreviations Used In This Pattern:
BO – bind off
CA – Color A
CB – Color B
CO – cast on
k – knit
p – purl
rep – repeat
RS – right (front) side
sl – slip st knitwise with yarn in back
st(s) – stitch(es)
[] Repeat instructions within brackets as indicated
Pattern Part 1:
With CA, CO 24 sts.
Row 1: (RS) K23, p1. Tip: If you have difficulty “reading” your stitches, place a locking stitch marker on this side to mark the right side of project.
Row 2: Sl 1, k22, p1.
Rows 3-4: Rep Row 2 twice more. Place locking stitch marker 1 at end of Row 4 to mark position.
Row 5: (RS) Rep Row 2.
Row 6: Sl 1, k2, p18, k2, p1.
Rep Rows 5-6 until stockinette section measures approximately 8” (20.5 cm) after row marked by stitch marker 1, ending after a repeat of Row 6. Place locking stitch marker 2 at end of last repeat of Row 6 to mark position.
Row 7: (RS) Rep Row 2.
Row 8: Sl 1, k2, [p1, k1] 9 times, k2, p1.
Rep Rows 7-8 until entire project measures approximately 30” (76 cm) long, ending after a repeat of Row 8. Fasten off CA. Do not bind off or remove yarn from needles.
Measure length of section between stitch marker 2 and end of CA section. For me this section measured 21” (53.5 cm) long, but for you this section may be slightly longer or shorter. Make note of this measurement for the next section of the mystery knit along.

Week 3: Pattern Part 2
Welcome back to the mystery knit along. I’m Marie from Underground Crafter and I’m excited to be sharing the second part of this pattern!
Abbreviations Used In This Pattern:
BO – bind off
CA – Color A
CB – Color B
CO – cast on
k – knit
p – purl
rep – repeat
RS – right (front) side
sl – slip st knitwise with yarn in back
st(s) – stitch(es)
[] Repeat instructions within brackets as indicated
Pattern Part 2:
Change to CB. Continue the pattern established in Part 1 as follows:
Row 7: (RS) Rep Row 2 (Sl 1, k22, p1).
Row 8: Sl 1, k2, [p1, k1] 9 times, k2, p1.
Rep Rows 7-8 until CB section measures the length between stitch marker 2 and the end of the CA section, or approximately 21” (53.5 cm), ending after a repeat of Row 8. Place locking stitch marker 3 at end of final repeat of Row 8 to mark position.
Continue the pattern established in Part 1 as follows:
Row 5: (RS) Rep Row 2 (Sl 1, k22, p1).
Row 6: Sl 1, k2, p18, k2, p1.
Rep Rows 5-6 until stockinette section measures approximately 8” (20.5 cm) after row marked by stitch marker 3, ending after a repeat of Row 6. Place locking stitch marker 4 at end of final repeat of Row 6 to mark position.
Repeat Row 2 (Sl 1, k22, p1) 4 times.
BO in pattern for Row 2. Fasten off CB.
With yarn needle, weave in all ends.


Week 4: Pattern Part 3 and Finishing
Welcome back to the final clue in this mystery knit along. I’m Marie from Underground Crafter and I’m excited to be sharing the third and final part of this pattern!
Abbreviations Used In This Pattern:
BO – bind off
CA – Color A
CB – Color B
CO – cast on
k – knit
p – purl
rep – repeat
RS – right (front) side
sl – slip st knitwise with yarn in back
st(s) – stitch(es)
[] Repeat instructions within brackets as indicated
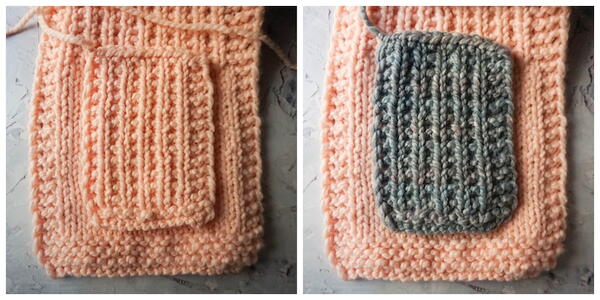
Pattern Part 3:
Pockets (Make 1 each in CA and in CB):
CO 14 sts.
Row 1: (RS) K13, p1.
Row 2: Sl 1, k12, p1.
Row 3: (RS) Rep Row 2.
Row 4: Sl 1, [k1, p1] 5 times, k2, p1.
Rep Rows 3-4 until pocket measures approximately 8” (20.5 cm) long, ending after a repeat of Row 6.
BO in pattern for Row 2. Fasten off with long yarn tail (approximately 36”/91.5 cm) for seaming.

Finishing:
By now, you’ve probably realized you are making a color-blocked pocket scarf! You can decide if you want your pockets to attach to the same color or the other color, depending on the look you prefer.
With yarn needle, weave in yarn tails from cast on of each pocket onto the wrong side of pocket.
Thread yarn needle with long yarn tail from end of first pocket. Position in pocket in center of stockinette section (between stitch markers 1 and 2 in CA or between stitch markers 3 and 4 in CB). Use pins or additional locking stitch markers to pin pocket into position. With long yarn tail, sew pocket to scarf around 3 sides (the sides of the rows and the cast on edge), leaving the bind off edge unseamed. Repeat for second pocket.
With yarn needle, weave in yarn tails.
Finished measurements: 10” (25.5 cm) x 60” (152.5 cm)
Spray block if necessary. You can find out more about blocking here.
Share your progress with us in the comments down below!
Read NextMeditation Cocoon Knitting Pattern
Your Recently Viewed Projects
Thanks for your comment. Don't forget to share!
sharon05676
Mar 04, 2021
Mine is almost complete. I liked that it was a quick knit as I've been away from knitting for a while and need to create time for it. I've been disappointed that there doesn't seem to be much of any discussion here. That would add to the experience. Thanks and I'm looking forward to another one soon! I hope.
sharon05676
Feb 16, 2021
My skein wasn't the full length as required. I'm at 27" with enough left for a couple more rows. Will I need more CA later? Is it ok to be a couple inches shorter?
blondeideas 550490 7
Feb 11, 2021
I am new and would benefit greatly with an est Width measurement. Just checking if I figured the gauge correctly
karingibbons 96804 39
Feb 11, 2021
I have just finished part one. Easy todo and it is looking good!
cindyluwho 6363881
Feb 03, 2021
Swatching! Looks pretty good so far. I'm using Bernat Softee Chunky in gray and denim blue.
Report Inappropriate Comment
Are you sure you would like to report this comment? It will be flagged for our moderators to take action.
Thank you for taking the time to improve the content on our site.