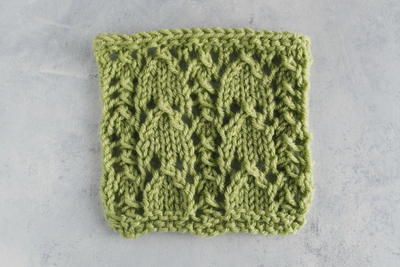
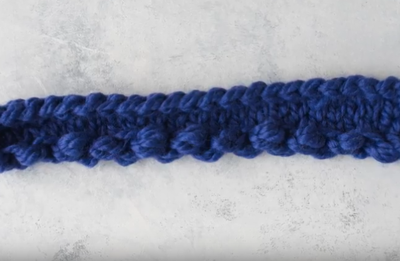
How to Knit the Staggered Slip Stitch

The staggered slip stitch is a great stitch for beginners who want to add some texture to their patterns. This stitch is commonly seen in hats, scarves, and even sometimes as decoration on sweaters. No matter how you use it, the staggered slip stitch will add a subtle raised texture that looks both fun and classy in just about any pattern.
While slipped stitches are best for knitters who are just beyond the beginner level, the textured look this stitch gives is very appealing to the eye. Similarly, it is not as difficult to master as cable stitch, so it is a great new knitting trick to learn. With this new stitch, you can make gorgeous pattern for things ranging from afghan blocks to baby blankets to cowls.

Knitting Needle Size8 or 5 mm
Yarn Weight(4) Medium Weight/Worsted Weight and Aran (16-20 stitches to 4 inches)
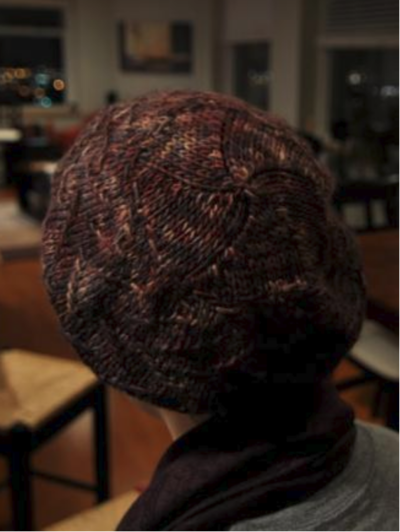
Practice the staggered slip stitch by checking out theSlouchy Hat
Instructions
CO a multiple of 6
Row 1: (RS) *K4, sl2 wyif, repeat from * to end of row
Row 2: (WS) *P1, sl2 wyib, p3, repeat from * to end of row
Row 3: *K2, sl2 wyif, k2, repeat from * to end of row
Row 4: *P3, sl2 wyib, p1, repeat from * to end of row
Row 5: *Sl2 wyif, k4, repeat from * to end of row
Row 6: sl1 wyib, *p4, sl2 wyib, repeat from * to last 5 sts, p4, sl1 wyib
Row 7: K across
Row 8: *p2, sl2 wyib, p2, repeat from * to end of row
Row 9: *K3, sl2 wyif, k1, repeat from * to end of row
Row 10: *sl2 wyib, p4, repeat from * to end of row
Row 11: sl1 wyif, *k4, sl2 wyif, repeat from * to last 5 sts, sl1 wyif
Row 12: *p4, sl2 wyib, repeat from * to end of row
Row 13: *k1, sl2 wyif, k3, repeat from * to end of row
Row 14: P all sts