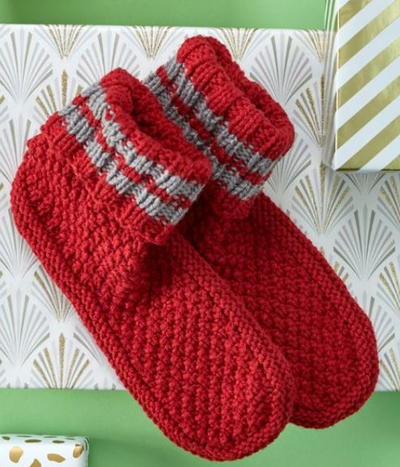
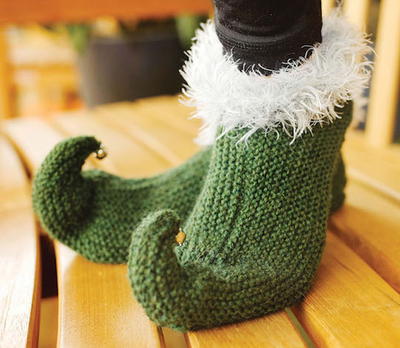
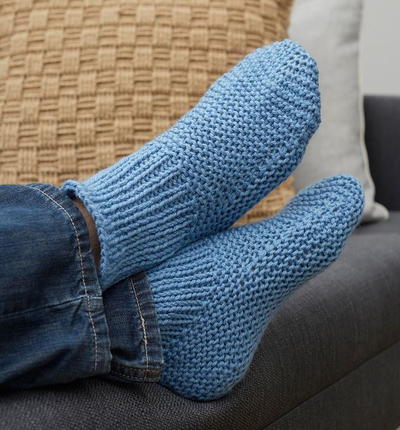
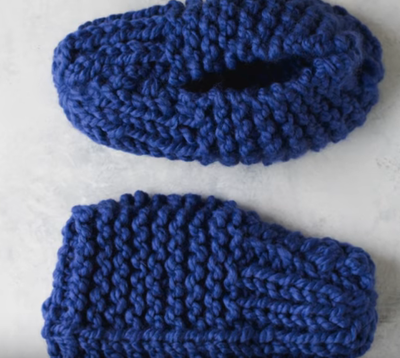
Non-Skid Slipper Knitting Pattern
The sole on this knitted slippers pattern will keep you from sliding around hard flooring!

If you're looking to knit a pair of slippers with a little more structure, the Non-Skid Slipper Knitting Pattern is for you. This pattern features a sewn-on sole that will not only offer you some traction, but will help give the slippers longevity. Nothing helps keep you warm and cozy throughout the winter months quite like slippers, so be sure to add this pattern for knitted slippers to your arsenal of go-to knits for Christmas gifts and beyond. This simple pattern can be knit up in any color you want, so let your creativity flow!

Yarn Weight(3) Light/DK (21-24 stitches to 4 inches)
GaugeIn stockinette: 22 sts and 30 rows/rnds = 10 x 10 cm
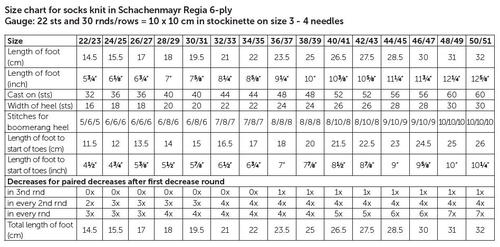
Finished SizeTo fit shoe size 40/41 (refer to size chart for additional sizes)
Materials List
-
Schachenmayr REGIA 6-ply Museé Color, 150 g ball - Color 06986 (artist color): 1 ball (Yarn amounts are approximate. Make sure to purchase
enough of the same dye lot in order to complete your
project.) - One set size 3 - 4 mm double-pointed needles [dpns]
- Size 3 mm crochet hook
- Black leather slipper soles by REGIA, size 40/41
Instructions
The Basics
-
Rib pattern:
K1, p1. -
Stockinette:
In rnds: K every rnd.
In rows: K on RS, p on WS. -
Broken rib pattern:
Multiple of 4.
Rnds 1 + 2: Knit all sts.
Rnds 3 + 4: K2, p2 around.
Rnds 5 + 6: Knit all sts.
Rnds 7 + 8: P2, k2 around.
Rep rnds 1 - 8 throughout. -
See size chart to knit slippers in your correct size.
SLIPPERS
With dpns, cast on 52 sts.
Arrange sts evenly on 4 needles = 13 sts per needle. Join for working in the round, place beginning of rnd marker and work in rib pat for 9 cm.
Next, work in broken rib pat for 11 cm, ending with a pat rnd 4 or 8.
Next 4 rnds: Work sts on first and 4th needle in stockinette, work sts on 2nd and 3rd needle in broken rib pat as established.
Leaving sts on 2nd and 3rd needle on hold, work boomerang heel across sts on first and 4th needle following instructions under “Boomerang (or Short-Row) Heel"
Continue in pat as established until foot measures 21.5 cm, then work banded toe in stockinette following instructions under “Decreases for paired decreases after first decrease round" on size chart.
Total length of foot = 26.5 cm.
Work 2nd sock same as for first sock.
FINISHING
Fold cuff in half to outside.
BOOMERANG (OR SHORT-ROW) HEEL
Work this heel in st-st in open rows over the stitches on Needles 1 and 4. For relief patts, work to about 1-2 cm before end of leg in St-st over stitches on Needles 1 and 4; cont in leg patt over stitches on Needles 2 and 3. At the same time, dec any excess stitches on Needles 1 and 4 on
1st round.
Arrange the heel stitches on 3 needles, see table "Stitches for booemerang heel"
Then work short rows with wrap stitches as foll:
the no. of wrap stitches worked on Needle 1 are before the first slash,
the no. of wrap stitches worked on needle 4 are after 2nd
slash.
The no. of stitches of center piece is between the slashes, do not work wrap stitches over these stitches.
On first half of heel on Needle 1 work first wrap stitch tog with last stitch before Needle 2, and on Needle 4 work first wrap stitch tog with first stitch after Needle 3. On all foll rows work 1 stitch less at the end each of every RS row and of every WS row, and after turning work wrap stitches until just stitches of center panel rem.
After 2 rounds over all stitches work over 2nd half of heel with short rows and wrap stitches in the opposite direction, thus on Needle 1 work first wrap stitch with first stitch after center panel, and last wrap stitch with last stitch on Needle 1; on Needle 4 on a RS row work first wrap stitch with first stitch after center panel, and last wrap stitch with 1st stitch on Needle 4.
-
First half of heel
Row 1 (RS row): K all sts on Needle 1, turn.
Row 2 (WS row): work wrap sts as foll: hold yarn at front of work, insert needle into first st knitwise, then slip st and yarn tog, then take yarn firmly to back of work. This brings the st over the needle, forming a wrap st If the yarn is not pulled back firmly enough, this will result in a hole. Bring yarn to front and P over rem sts. on Needle 1 and all sts on Needle 4, turn.
Row 3: work 1 wrap st, then K all rem sts on Needles 4 and 1 to wrap st at end of row, leave wrap st unworked; turn.
Row 4: work 1 wrap st, then P again to the wrap st; turn.
Rep rows 3 and 4 until just the sts of center panel rem.
Now work 2 rounds over all sts, K over sts. of heel, and work in leg patt over sts on Needles 2 and 3. At the same time, on first round pick up both parts of the wrap st and K as for 1 st. Then work 2nd half of heel. -
2nd half of heel
Row 1 (RS row): K sts of center panel and the next st; turn.
Row 2 (WS row): work a wrap st. P rem sts of center panel and the next st, turn.
Row 3: work a wrap st. Now K to the wrap st, K this as given and K foll st, then turn.
Row 4: work a wrap st. Now P to the wrap st, P this as given and P foll st, then turn.
Rep rows 3-4 until wrap sts have been worked over the
outer heel sts too.
After the last WS row turn and work 1 wrap st, K rem sts on Needle 4, then cont in rounds, and on first round K wrap sts as given.
Then work foot and toes as given.
Read NextNon-Skid Slipper Knitting Pattern