How to Knit an I-Cord
I-cords are useful in so many different kinds of knitting patterns! Learn how to knit them with this simple tutorial.

Whether you're adding tassels to a hat, adding some yarny embellishments to your home decor, or even making coasters, i-cords make for some really fun knitting.
You might have come across i-cords as tassels on hats. This is probably the most common use of i-cords in the world of knitting, but you can really use them in just about any type of project imaginable. This tutorial below is great for learning the detached version of an i-cord; there are certain techniques that can be used to create applied i-cords to the edges of knitted fabric, but that requires a slightly different set of skills.
If you're new to i-cord knitting, I recommend giving this technique a try on a hat pattern that has earflaps, like this one. They're worked seamlessly into the knitting of the body of the hat itself, which makes great practice!
Materials
- Yarn
- Corresponding needle sizes
Note: I typically use one size smaller than the recommeded needle size for the yarn I'm using when making an i-cord. - A tapestry needle
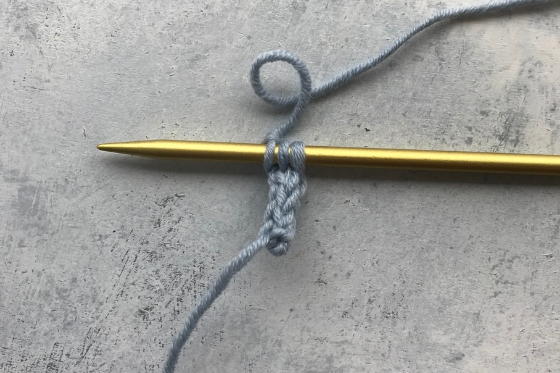
Step 1: Casting on
The thing you should know about i-cords is that there are very few strict rules about knitting them. This starts from the beginning, with casting on. Most patterns that include i-cords will have you work a cord that's between 3 - 5 stitches.
The most common number of stitches to cast on for an i-cord is 3, which is what I've used for this tutorial. Regardless of how many stitches you cast on, knitting an i-cord works the same way.
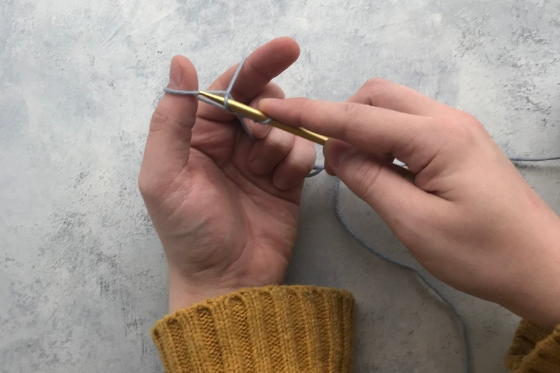
There's no specific way that you need to cast on for an i-cord; I used the longtail method.
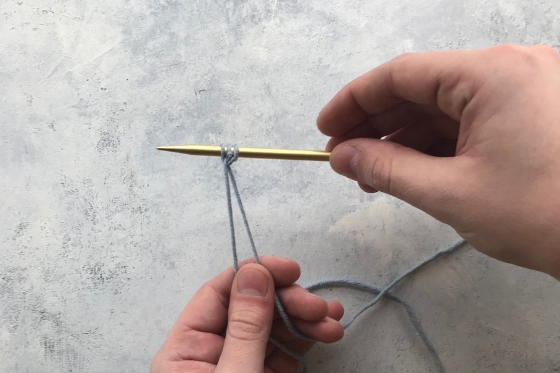
Step 2: Joining
Because i-cords are essentially very tiny knit tubes, you do have to join the two ends of the cast on. But how do you do this on a singular circular needle?
How to join the two sides of your cast on:
- Push the stitches to the other end of your double pointed needle.
- Insert your other double pointed needle into the first stitch as if to knit.
- Pull the working yarn very right and knit through that first stitch as normal.
Note: Because i-cords have so few stitches in each round, all you have to do to join both ends is hold this yarn very tightly and continue knitting from the beginning.
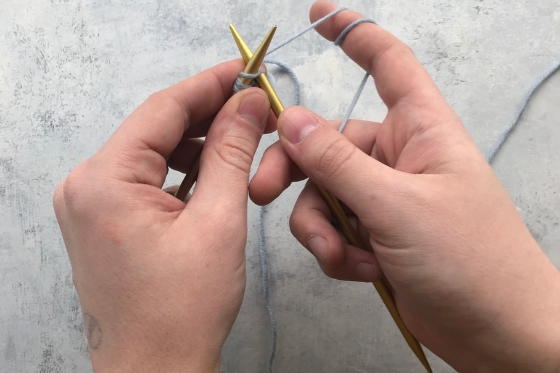
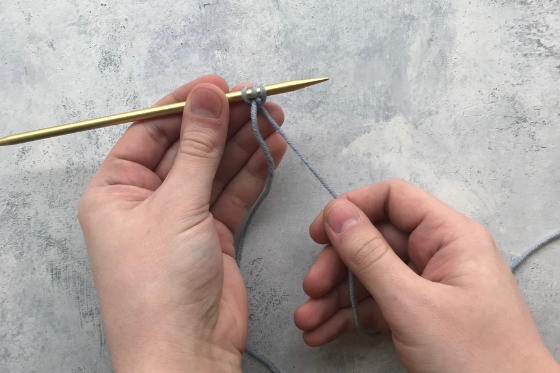
Step 3: Knitting the iCord
Once you've completed the join of your i-cord, the rest is a breeze. All you have to do in order to knit your i-cord is knit all of the stitches across, push the stitches to the other end of your double pointed needle, pull the yarn tight, and repeat.
Continue to do this until your i-cord has reached the desired size. You will notice that you can knit quite a bit of i-cord in a short amount of time because of the small number of stitches.
Step 4: Finishing
Repeat step 3 until your i-cord has reached the desired length; your pattern will likely give you the appropriate length in inches.
You can bind off in the typical method that you prefer; we recommend this technique.
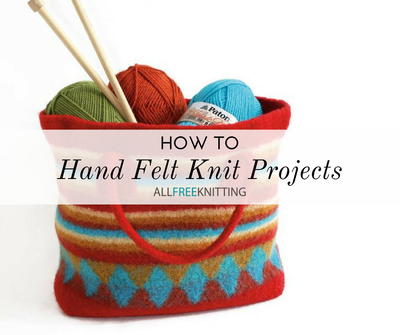
Read NextHow to Hand Felt Knit Projects