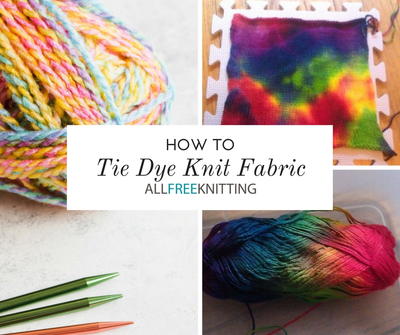
How to Tie Dye Knit Fabric
Add some fun flair to your knit projects with this tutorial for tie dying your knitted fabric!

Creating unique, hand-dyed yarn has never been easier! Just follow along with Rebecca Roush and learn how to turn a piece of white knitted fabric into an explosion of color using a Tulip Tie-Dye Kit. Read on for the full tutorial.
I love to tie-dye. This shouldn’t be a surprise because I have written so many yarn dyeing tutorials, but my love for dyeing goes back to my childhood.
My 4th grade class sold tie-dyed T-shirts, socks and anything else we could dye to raise money for the local animal shelter. I am so pleased to have come full circle as an adult to show you how you can use the Tulip Tie-Dye Kit to dye more than T-shirts -- to dye your completed knitting.
Materials
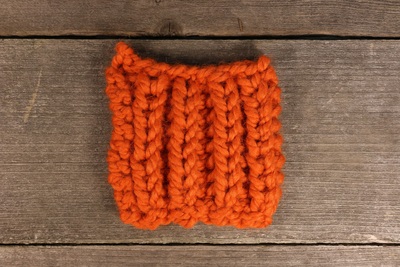
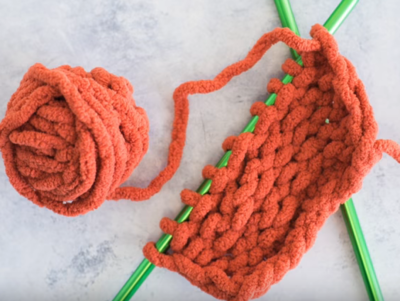
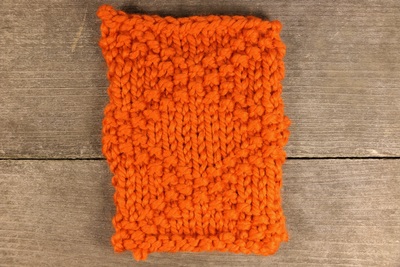
- Pre-Knit piece of fabric - In this tutorial I am using a simple stockinette square, 50 sts x 60 rows knit out of white worsted weight 100% wool yarn. You can tie dye a variety of knit projects using this method, but I would recommend playing with a swatch first before you commit to dyeing a shawl you spend 100 hours knitting.
- Tulip Tie Dye Kit - This kit is a dream for dyeing yarn. Depending on which kit you select, you get 3-12 different colors of dye, squeeze bottles, plastic gloves, rubber bands and an instructional packet full of inspiration.
- Water
- Plastic Bags to protect your work space
- Gloves to keep your hands dye free!
- Patience - Other types of dyeing methods I have demonstrated use heat to set the dye, which greatly reduces the amount of time for the dye to absorb to fiber.
- Plenty of paper towels to mop up spills.
Instructions
-
Before you begin, make sure you read the instructions that come with your tie dyeing kit. The below instructions are based on the Tulip Tie Dye Kit, so the instructions I give here may vary based on the kit you are using. These instructions not only tell you how to apply the dye, but they can also give you inspiration on how to dye your knit fabric.
-
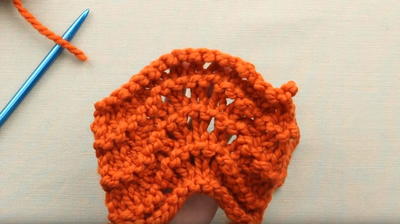
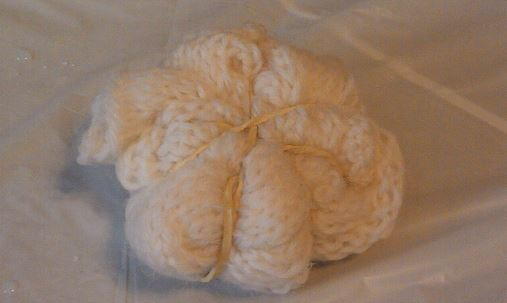
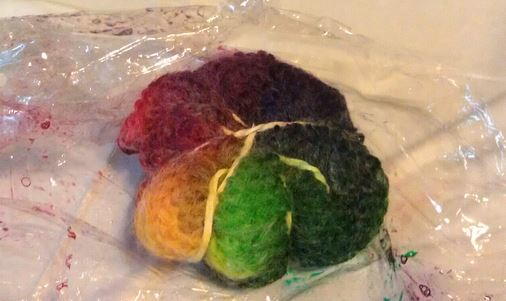
Tie up your project (optional) - Since this is a tie dyeing tutorial, I am going to tie up my knit swatch. I selected using a swirl pattern that is my favorite for T-shirts, but you can tie the rubber bands onto your project in any way you like. I recommend referring back to the instructional packet for some other creative ideas. I tied up my knit fabric dry, since wool fibers stretch a lot more when they are wet and I didn’t want to lose the shape of a square.
-
Pre-soak your fibers. The Tulip kit boasts that no presoaking is required, but I found that the dye absorbs much better to damp fibers, whether you are dealing with cotton or wool. I soaked my knit swatch in cool tap water for 30 minutes.
-
Protect your work surface. I highly recommend laying out some plastic trash bags to protect your work surface from spilled dyes. I also lay out a sheet of plastic wrap which will be used to wrap up the dyed project.
-
Squeeze out the excess water from your tied knitting, gently. The more liquid you squeeze out of the project means the more dye you can apply.
-
Add water to the dyes of the kit right before you are ready to apply them to the fibers (or according to manufacturer instructions.) Go wild applying the dye to your tied up project!
-
With paper towels, mop up any excess dye and then wrap your project in the plastic wrap on your work surface. To prevent evaporation and catch any leaks, I place this inside a plastic grocery bag. Put your dyed fabric in a safe place for 6-8 hours. You will get more vibrant colors the longer you let the dye sit on the yarn.
-
Gently unwrap your project, removing any rubber bands. This is always my favorite part of tie dyeing because you never really know how it is going to turn out until you open it up. Rinse out the excess dye using the warmest water recommended for your fiber type (for wool I used cool water.) The manufacturer instructions recommend that you machine wash your dyed project on the recommended cycle, but I would not put 100% wool in a washing machine unless I wanted to felt it. I therefore would add a little laundry detergent to the hand wash the knit project until the water runs clear.
-
Block your project or lay flat to dry.
I hope that you will have as much fun tie-dyeing your knit projects as I have. Make sure you check out the accompanying video on AllFreeKnitting’s YouTube channel.
More Ways to Tie Dye Your Knitting

Hand-painted yarns have delicious variegated colorways. Unfortunately these gorgeous yarns come with an increased price tag because of the extra time of dyeing.

Add a fun tie-dye effect to cotton yarn using Tulip's Tie-Dye Kit. Thanks to Rebecca's free video tutorial, you'll be able to make hand-dyed yarn in just a few easy steps.

There are many ways you can dye yarn at home. Food coloring is a popular option because, as a food item, it is non-toxic to work with.