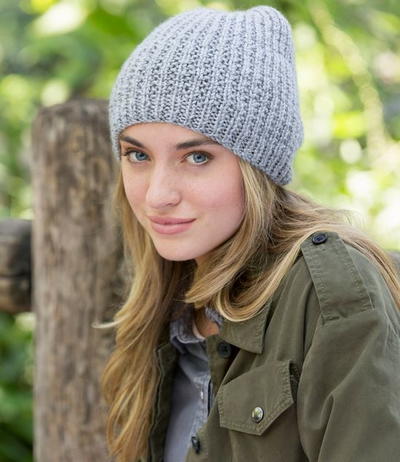
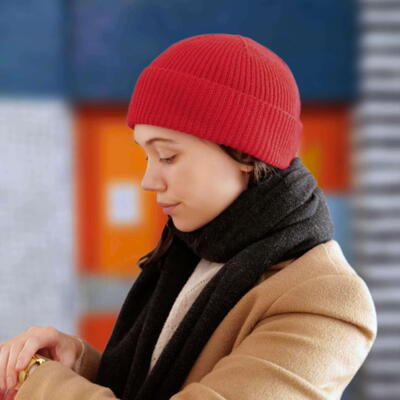
Berries Blast Beanie
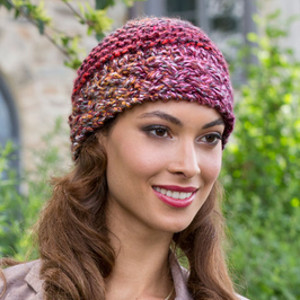
You deserve a beautiful hat to match your colorful personality, and we've got just the thing. Get ready to have a blast while learning how to knit a hat with this Berries Blast Beanie pattern. This is one accessory that will last you year-round, giving you glorious colors to add to all of your outfits. The Berries Blast Beanie is a fun knit hat pattern sure to add both style and flair to any wardrobe. This gorgeous hat is sure to smash hit. It doesn't hurt that it is not only fashionable but also super comfortable.

Knitting Needle Size11 or 8 mm
Yarn Weight(5) Bulky/Chunky (12-15 stitches for 4 inches)
Gauge12 stitches, 20 rows, 4 inches. garter stitch
Materials:
- RED HEART® Medley™: 1 ball 940 Volcano (Art 824, available in 4oz (113 g), 99 yd (90 m) balls)
- Susan Bates® Knitting Needles: 8mm [US 11]
- Cable Needle
- Yarn needle
GAUGE: 12 sts = 4” and 20 rows = 4 inches in garter stitch. CHECK YOUR GAUGE. Use any size needle to obtain the gauge.
Finished Measurements
Head Circumference: 20” [51 cm]. Beanie stretches to fit 21-22” [53-56 cm].
Finished Length: 9” [23 cm]. Beanie fits most adults.
Abbreviations:
K = knit
cm = centimeters
mm = millimeters
P = purl
St st = Stockinette stitch (Knit on right side rows; Purl on wrong side rows.)
st(s) = stitch (es)
[ ] = work directions in brackets the number of times specified
* or ** = repeat whatever follows the * or ** as indicated
SPECIAL STITCHES
CB4 = Slip next 2 stitches to cable needle and hold in back, k2, k2 stitches from cable needle.
CF4 = Slip next 2 stitches to cable needle and hold in front, k2, k2 stitches from cable needle.
K2tog = Knit 2 stitches together (decrease)
PATTERN STITCHES
Cable Panel (panel of 13 sts)
Row 1 (Wrong Side): P1, k2, p8, k1, p1.
Row 2 (Right Side): K1, p1, CB4, twice, p1, k2.
Row 3: Repeat Row 1.
Row 4: K1, p1, k2, CF4, k2, p1, k2.
Repeat rows 1-4 for Cable Panel.
Garter Stitch
Row 1 (Right Side): Knit all sts.
Row 2 (Wrong Side): Knit all sts.
Repeat rows 1-2 for Garter Stitch.
CABLE PANEL HEADBAND
Cast on 13 stitches. Work in Cable Panel until Beanie band measures 20” [51 cm] from cast-on edge. Bind off all stitches.
BEANIE
With Right Side of Cable Panel facing, hold Cable Panel headband so that the k2 edge is on the bottom. From top edge, pick up 57 stitches evenly along edge. Work in Garter Stitch for 4 rows
Shape Crown:
Row 1 (Right Side) decrease row: K1, *k9, k2tog; repeat from * to last st, k1—52 sts
Row 2 (Wrong Side): P1, k to last st, P1.
Row 3 (Right Side) decrease row: K1, *k8, k2tog; repeat from * to last st, k1—47 sts.
Row 4 (Wrong Side): P1, k to last st, P1.
Row 5 (Right Side) decrease row: K1, *k7, k2tog; repeat from * to last st, k1—42 sts.
Row 6 (Wrong Side): P1, k to last st, P1.
Row 7 (Right Side) decrease row: K1, *k6, k2tog; repeat from * to last st, k1—37 sts.
Row 8 (Wrong Side): P1, k to last st, P1.
Row 9 (Right Side) decrease row: K1, *k5, k2tog; repeat from * to last st, k1—32 sts.
Row 10 (Wrong Side): P1, k to last st, P1.
Row 11 (Right Side) decrease row: K1, *k4, k2tog; repeat from * to last st, k1—27 sts.
Row 12 (Wrong Side): P1, k to last st, P1.
Row 13 (Right Side) decrease row: K1, *k3, k2tog; repeat from * to last st, k1—22 sts.
Row 14 (Wrong Side): P1, k to last st, P1.
Row 15 (Right Side) decrease row: K1, *k2, k2tog; repeat from * to last st, k1—17 sts.
Row 16 (Wrong Side): P1, k to last st, P1.
Row 17 (Right Side) decrease row: K1, *k1, k2tog; repeat from * to last st, k1—12 sts.
Row 18 (Wrong Side) decrease row: P1, k2tog, 5 times, p1—7 sts.
FINISHING
Cut yarn leaving a tail 15” [38 cm] long. With yarn needle, draw tail through remaining stitches twice and pull tightly. Using mattress stitch, sew back seam together. Weave in ends. Block lightly.
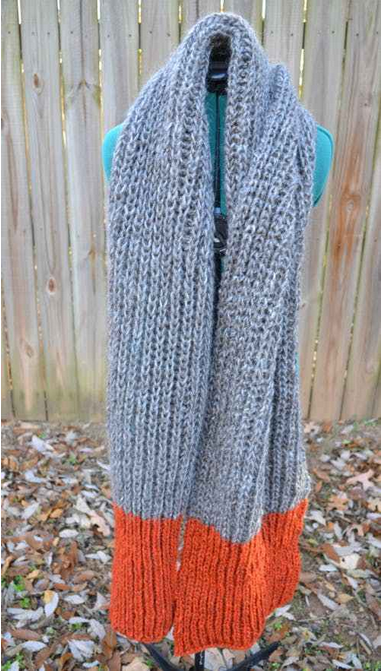
Read NextKnitting Cap For Men & Women
Thanks for your comment. Don't forget to share!
renjoe2012 1219737
Feb 21, 2018
Instructions say that after cable panel is 20 inches long and bound off, to face right side to you with "k2" edge is on the bottom. What exactly is the "ke edge".....the last row knitted and bound off or the cast on edge?
Lisa
Jan 31, 2021
The k2 edge is the end of the rows 2 and 4 in the cable pattern, it's on your left side while you are knitting, you will want that facing down to do the stitch pick up. So, you will want the right side of the cable panel turned up to do the pick up. Right side of the pattern, as well as right side of the strip you just knit, basically take it off the needles and turn it sideways, so that what was on the right is now on top. this is much easier to do, than it is to explain, they should have included a picture of this step. Hope this helps someone, happy knitting.
Report Inappropriate Comment
Are you sure you would like to report this comment? It will be flagged for our moderators to take action.
Thank you for taking the time to improve the content on our site.