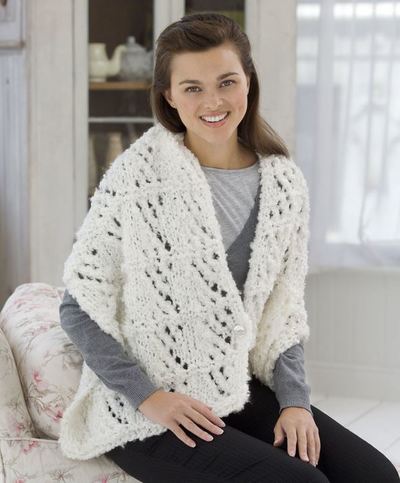
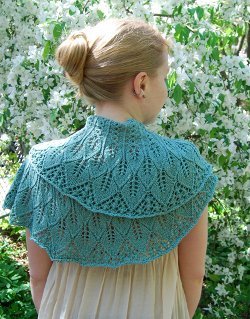
Knit Hourglass Wedding Wrap

Searching for free knitting patterns for wedding attire can be a challenge. There are plenty of crochet patterns out there for lace shawls, but not enough for knitting. This Knit Hourglass Wedding Wrap might just end the search forever. This lovely knit wrap's lace design makes it open enough for warmer-weather weddings, but the yarn is fluffy and cozy enough for for the colder months. Even if you only wear this wrap to cover your shoulders in the church, it's worth the effort, being so beautiful. You may find you wear it long after your wedding is over!

Knitting Needle Size15 or 10 mm
Yarn Weight(6) Super Bulky/Super Chunky (4-11 stitches for 4 inches)
Gauge1 stitches, 2 rows, 3 inches. stockinette stitch
Materials:
- RED HEART® “Light & Lofty®”: 9316 Puff - 2 skeins
- Knitting Needles: 10mm [US 15].
- One button
- Yarn needle.
Measurements: Wrap measures 19½" x 56".
Abbreviations:
K = knit
mm = millimeters
P = purl
st(s) = stitch (es)
yo = yarn over
* = repeat whatever follows the * as indicated
[ ] = work directions in brackets the number of times specified.
Gauge: 7 sts = 4"; 12 rows = 4" in pattern. CHECK YOUR GAUGE. Use any size needles to obtain the gauge.
Special Abbreviation
ssk (slip, slip, knit ) = Slip next 2 sts knitwise, one at a time, to right needle; insert tip of left needle into the fronts of these 2 sts and knit them together from this position.
Instructions
GARMENT IS WORKED IN ONE PIECE:
Cast on 34 sts.
Purl 2 rows.
Row 1 (Wrong Side): Knit.
Row 2 (Right Side): K1, * K1, [yo, ssk] 3 times, K1; repeat from * to last st; K1.
Rows 3, 5, 7, and 9: K1, Purl to last st, K1.
Row 4: K1, * K2, [yo, ssk] twice, K2; repeat from * to last st; K1.
Row 6: K1, * K3, yo, ssk, K3; repeat from * to last st; K1.
Row 8: Repeat Row 4.
Row 10: Repeat Row 2.
Repeat Rows 1-10 for pattern until 55” from beginning, end right side row. Knit 1 row, Purl 2 rows. Bind off.
FINISHING
Sew on button as shown; use a corresponding yarn over as buttonhole.
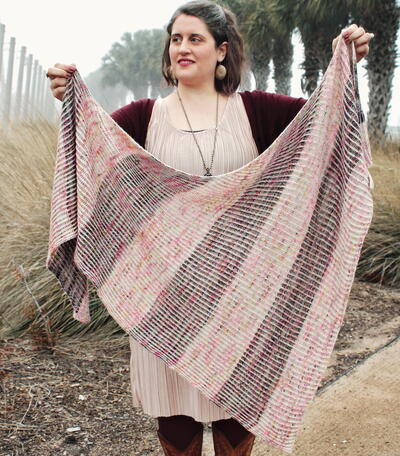
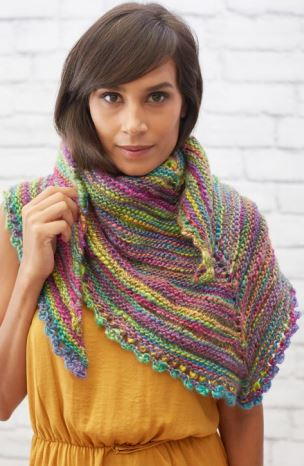
Read NextRainbow Afternoon Shawl