How to Dye Silk Hankies
Learn how to dye silk hankies, also known as Mawata, using food coloring and your oven. Once your hankies are dyed to your satisfaction, they can be transformed and spun into beautiful hand dyed yarn.
How to Dye Silk Hankies
Silk hankies (also know as Mawata) are composed of multiple fine layers of 100% silk, with each layer coming from a single cocoon. These layers are really easy to draft to knit with unspun or to prepare for spinning. As a novice spinner, I found spinning from silk hankies easier than wool and it gave me a lot of confidence with my spinning abilities. Like wool, silk dyes beautifully and you can dye it with food coloring in the safety and comfort of your kitchen.
Note: It is very easy to catch the delicate fibers on your hands or other instruments, so you want to make sure that all of the tools you are working with is smooth.
Materials:
- Fiber - 100% Silk Hankies. 1/4 oz. (6 gram) was used in this tutorial.
- Acid - White Vinegar
- Dye - McCormick liquid Food Coloring
- Oven safe container
- Water
- Oven with an accurate temperature setting (and/or Oven Thermometer.) I have read that silk can lose its luster if heated over 175 degrees F (120 degrees C) so you want to have control over the temperature. In my adult life, I have yet to reside in an apartment where I can trust the oven settings for the temperature. I therefore have an oven thermometer in the oven which will help me keep track of the temperature.
- Rubber gloves (optional) to keep from dyeing your hands along with your silk!
Instructions:
- Presoak your hankies in cool water in the oven safe container. Silk can take hours to absorb the water, so you may want to let them soak overnight. As the silk absorbs water, you will see it become more translucent.
- Once the silk is saturated, pour out the excess water until the silk hankies are just barely covered.
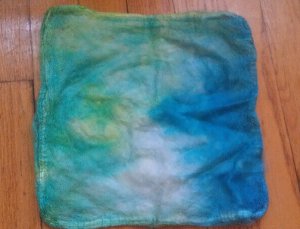
- Add your dye. In the sample shown here, I added 5 drops of blue food coloring to one side, and 5 drops of green food coloring to the other.
- Using your gloved hands, help move the dye around the silk. (You can sit and wait for diffusion to mix the dye, but it will take a very long time.) Once you add heat the dye will stick to the silk where it is located, so you want to make sure that the dye has had an opportunity to diffuse through your silk and that you are happy with the dye pattern.
- Place your container into an oven preheated to 175 degrees F (120 degrees C). Allow the mixture to heat until the dyebath is clear (40 min-2 hours depending on the amount of silk you are dyeing), checking on the silk every 20 minutes.
- Remove the pan from the oven and allow the silk to cool to room temperature.
- Was the silk with luke warm water and mild soap until the water runs clear. Hang the silk hankies to dry.
Like any type of fiber dyeing, you will learn what works best for you through trial and error. If you are dying a big stack of silk hankies, you will want to let them soak with the dye before putting them in the oven longer if you don’t want to have a white center. (Some people recommend dyeing in smaller batches, others like the way a little bit of white plays into the final color.)
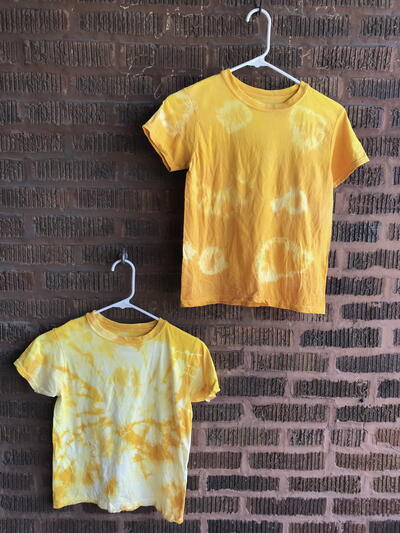
Read NextHeart Tie Dye Technique