How to Do the Kitchener Stitch
This tutorial for Kitchener stitch is so simple. You'll be knit-purl/purl-knitting your way to a seamless graft for your next project!

The Kitchener stitch has multiple benefits to it. It's probably the most popular way to graft knitting because it creates a nice finish to your projects and is easy to hide. While it may seem tricky, this simple tutorial for how to do the Kitchener stitch will show you just how easy it is to master! You just have to remember the knit-purl/purl-knit pattern, and you will be creating the perfect seamless graft in no time.
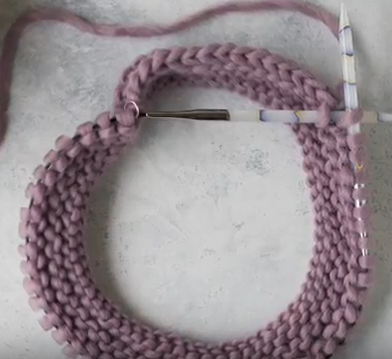
This knitting stitch can be used to seamlessly tie off your knitting projects for numerous different patterns. Particularly, if you are looking to create a seamless cowl, then the Kitchener stitch is the one for you! From infinity scarves to sleeves on a sweater, the Kitchener stitch as SO many practical uses.
Watch and Learn
Materials List
- Yarn
- Knitting Needles
- Sewing Needle
Step 1
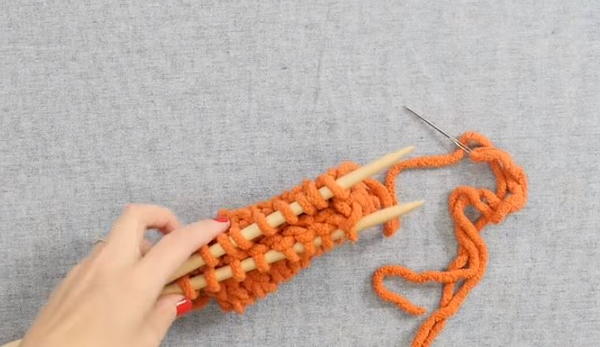
Start with your live stitches parallel next to each other with the wrong sides facing each other and the right sides facing out.
Step 2
Thread your working yarn, which should be cut, onto a tapestry needle.
Step 3
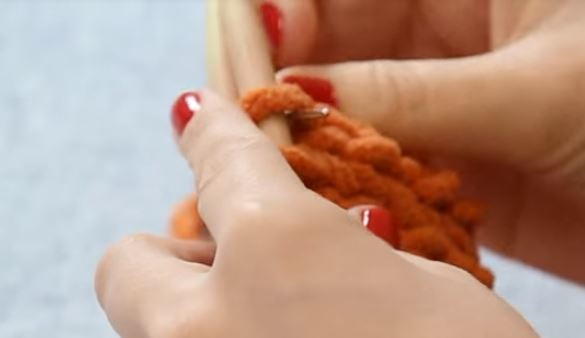
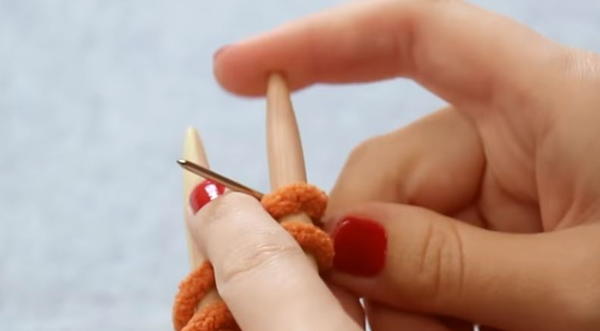
Run your tapestry needle through the stitch on the needle closest to you purlwise.
Step 4
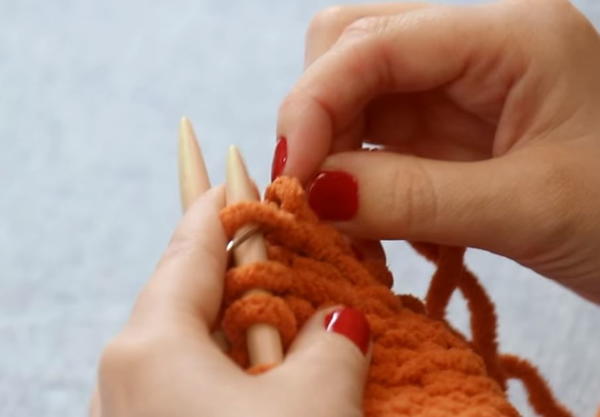
Run the tapestry needle through the stitch furthest from you as if you were to knit (i.e. front to back).
Step 5
You will be following a knit-purl, purl-knit pattern through this stitch.
Step 6
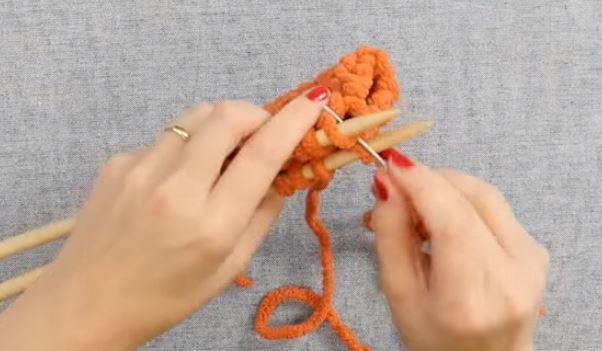
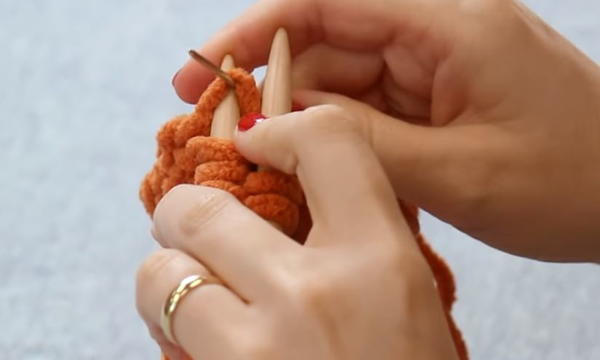
Knit-Purl:
On the needle closest to you start with your knit-purl. Put your tapestry needle knitwise (from front to back) through the first stitch on the needle closest to you. Then, sweep it off the end.
For the purl part, bring the needle purlwise back through the first stitch and pull the tail through.
Step 7
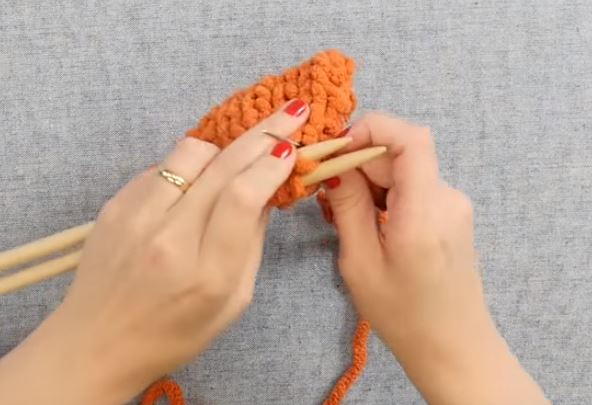
Purl-Knit:
The purl-knit part of the Kitchener stitch will be done on the stitches that are on the needle furthest from you.
For the purl, insert the tapestry needle purlwise and sweep the stitch off. For the knit, insert the needle knitwise and bring the yarn through.
Step 8
Repeat this process all the way down your knitting needles.
Step 9
When you have only two stitches left on your needles, simply insert the needle knitwise into the stitch closest to your and sweep the stitch off.
Then insert the needle purlwise into the last stitch and sweep it off, so you have no stitches left on your needles.
Bring the yarn through the last stitch and weave in your ends.
Up Next:
Seaming 101: 7 Methods for Seaming Your Knitting
Have you ever used the Kitchener stitch?
Let us know your tips and tricks in the comments!
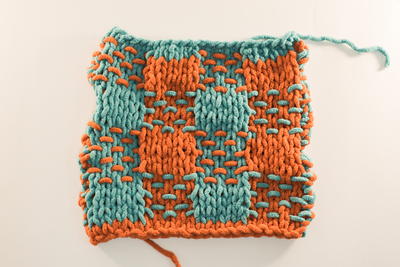
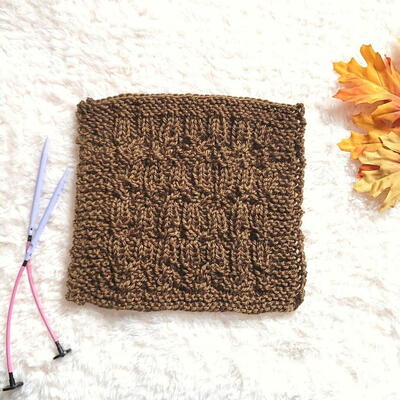
Read NextHow to Knit the Woven Plaid Stitch
Your Recently Viewed Projects
Thanks for your comment. Don't forget to share!
Sam19
Apr 20, 2020
I am making the easy cable headband, how do i start it so i can end it with this stitch?
Report Inappropriate Comment
Are you sure you would like to report this comment? It will be flagged for our moderators to take action.
Thank you for taking the time to improve the content on our site.