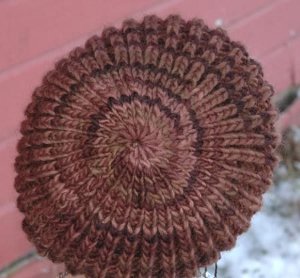
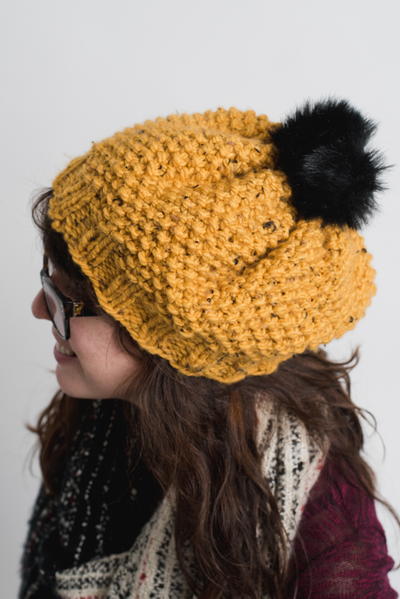
Black-Eyed Susan Knit Hat
This easy-to-knit hat is great for last-minute gifts!

Subtly textured with a whole lot of slouch, this yellow seed stitch hat pattern is the ultimate in warmth and texture. This laid-back knit is sure to become an autumn and winter staple since it's so simple. The thick yarn and lack of shaping in this pattern makes it a great TV-friendly knitting pattern that you can practically knit in your sleep.
You are going to love wearing this beautiful knit hat all throughout the colder months. Worked on large circular needles with chunky yarn, this hat pattern is a relatively quick knit, making it perfect for last-minute homemade gifts. This mustard-colored beauty also resembles the flower Black-eyed Susans!

Knitting Needle Size10.5 or 6.5 mm, 13 or 9 mm, Circular Knitting Needles
Yarn Weight(6) Super Bulky/Super Chunky (4-11 stitches for 4 inches)
Materials List
- Size 10.5 or 6.5 mm circular knitting needles (29 inches)
- Size 13 or 9 mm circular knitting needles (29 inches)
- Weight 6 yarn (I used Charisma™ Tweed Yarn by Loops & Threads®, which is a very thick weight 5)
- Tapestry needle
- A pom pom
Pattern
Casting On
CO 60 sts onto your size 10.5 circular needles.
Add one extra stitch for the join, and join using an invisible join.
Note: Increase or decrease this number by 4 sts, depending on the size you would like. I found 60 stitches to be on the baggier side.
Ribbing and Seed Stitch
Rnds 1-7: (K2, p2), repeat ( ) all the way around
Rnd 8: Switch out your size 10.5 circular needles for the size 13 needles. Kfb, (k1, p1), repeat ( ) all the way around
Note: The kfb in this row is to increase the number of sts to an odd number for seed stitch
Remaining Rnds: K1, p1 (seed stitch)
Finishing
Continue until hat measures approx. 7-8 inches long.
To Finish/Bind Off:
- Measure and cut a tail of yarn approx. 6-7 inches long.
- Using a tapestry needle, thread your tail of yarn through all of the stitches, removing them from your needles as you go
- Attach the pom pom with the tail of yarn.
- Bring the tail through the top of the hat and weave into the inside of the hat.
What's your favorite seed stitch pattern?
Let us know in the comments!
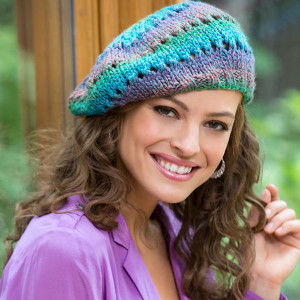
Read NextAll Day Beret
Your Recently Viewed Projects
Thanks for your comment. Don't forget to share!
Grace333
Jan 08, 2017
This is a great pattern and a darling hat. I think if you went with a light pastel and a thinner yarn it would work into the spring and a light covering on summer evenings. I am going to try this. I usually have issues wearing hats for some reason. They look great on my sister so she has a lot of them. Did anyone try this with a lighter weight yarn?
Linda
Dec 17, 2016
To enlarge a project, take measurement of your head ,check gauge for pattern stitches. Calculate the stitches required to increase or decrease in size by the inches of measured head. It is as simple as that to enlarge a pattern.
schiebet
Dec 12, 2016
I tried to start this pattern over the weekend and did not feel like I could get it big enough. I doubled my yarn to make it thicker and cast on 52 stitches. Any suggestions on what I might need to do to make it work. I can say it will be a very quick knit. I've torn it out twice already.
Report Inappropriate Comment
Are you sure you would like to report this comment? It will be flagged for our moderators to take action.
Thank you for taking the time to improve the content on our site.